This will be a heartfelt report as we near and pass deadlines, scramble, dodge and grab the plan B book. We’re getting close, but can’t go to paint without a front end. It never arrived, so I picked up a contact number and reached out. I sent an e-mail to Leo DiOrio and he responded, “Don't panic.” That was a month ago. I spoke to other builders and they were also waiting.
I couldn't wait any longer. Rodan, or SCTA official, rides a new Dyna Glide and it sports the new 49 mm semi-narrow glide. I was impressed, strong, sharp looking forks. I reached out to Harley-Davidson and they responded quickly. We ordered the new 49mm Dyna Glide front end. We were also running super low on funds and couldn’t pick up our AIM data system. We had the Bonneville blues.
I’m standing at the gate right now waiting for UPS, but nothing stops the 5-Ball racing team. I spoke to Kent at Air Tech about a fairing this morning, to Berry Wardlaw about NOS system questions, to Jeremiah about our NOS fittings, to Delvene Manning about our bike class this year and to Custom Chrome who just came on board as a Platnimum sponsor. Made my day, saved our asses.
The lovely Nyla made a mad dash, snatching a homeless credent off the streets, so she could use the carpool lanes. She grabbed the cash and hit it to AIM sports dealer, GT Fabrications in Anaheim, to pick up MyChron3 XG data acquisation system. This afternoon I’ll run it over to Gard’s LA Choprods for final tank assembly. Then the tank could go be delivered to Jim’s Custom Paint.
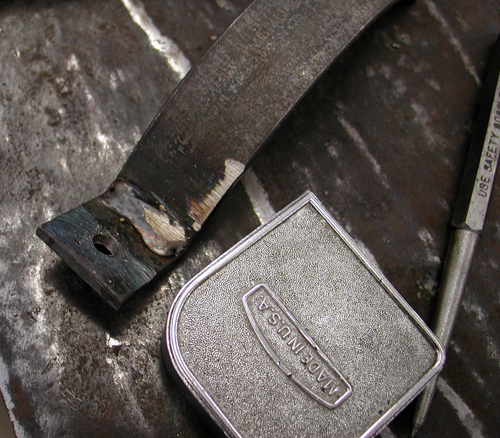
This weekend we started on the final Nitrous system install—the straps. We are fortunate to live in LA, where the creed is, “You can do or find anything in Los Angeles.” We have three major steel supply yards in a mile radius of the extreme Ivory tower International Bikernet Headquarters. We hit Phillips Steel and asked them to fabricate our straps. They did and had a steel hinge to work with.
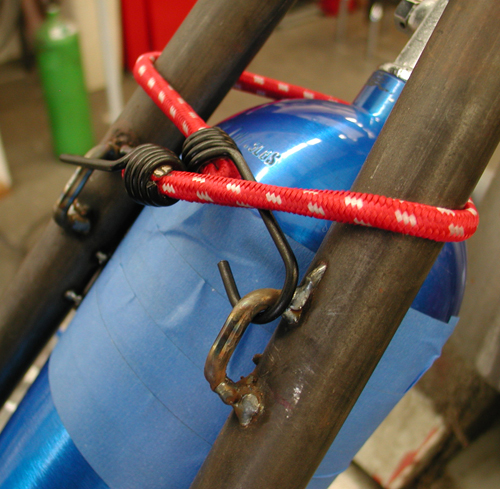
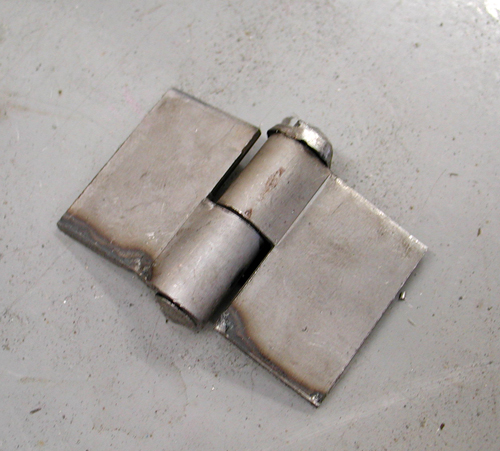
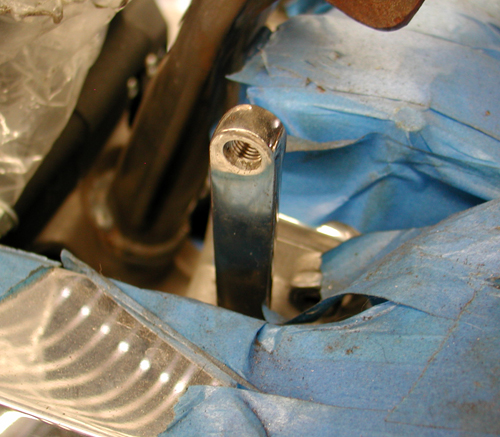
I bungied the Nitros bottle in place using the old strap loops and started making measurements. But first I had to split the steel hinge in two and remake the hinge link. Then I slipped the hinge between the frame rail and the bottle.
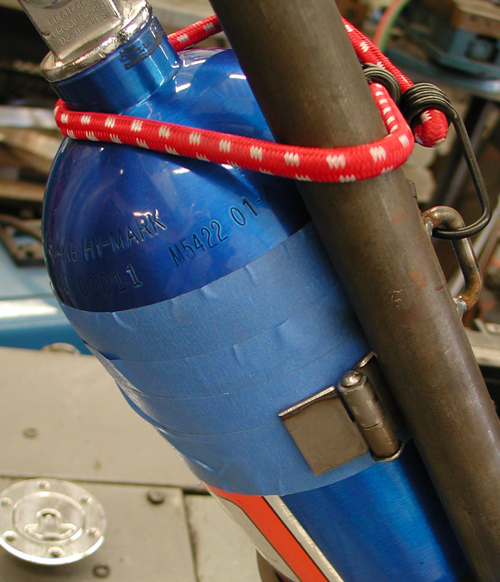
I tried to fit the hinge so it ran square with the tank and that allowed me enough space to weld it on both sides.
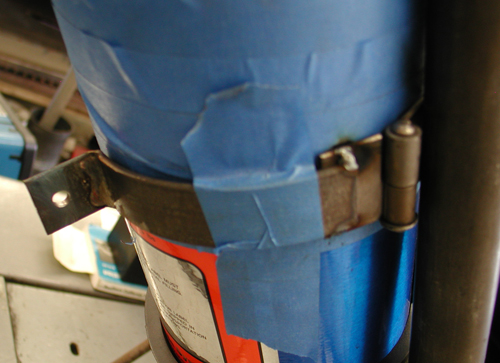
Then I cut the strap. We wrapped the Nitrous bottle with blue masking tape to prevent paint damage while attempting to tack the straps in place. Again, we tried to keep the strap tight to the bottle to hold it square.
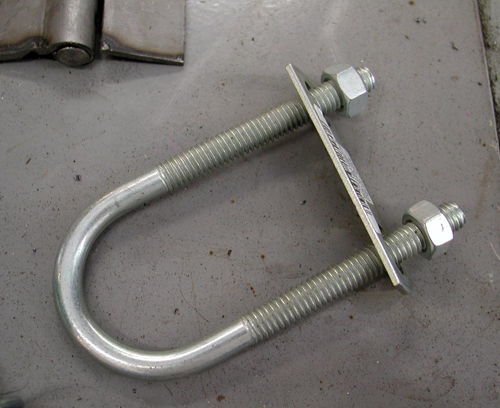
We made, no less, than three research missions to various hardware stores to find the proper strap for the bottle. The notion was to build a bottle valve guard to prevent the bottle from becoming a rocket or bomb during an accident. After finally finding the right strap we asked the lovely Ninja goddess, Nyla what she thought. “Why don’t you fasten the guard to the frame?” She said and winked at me. That was the solution. We grabbed a cap off an acetylene bottle and tried to work it in, but that was awkward, if we tried to hook it to the bottle. I’ll get back to our solution in minute.
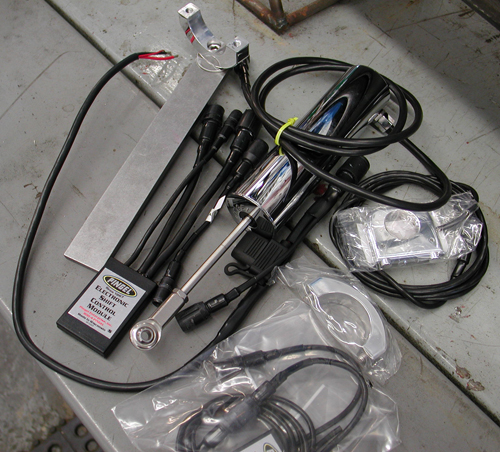
First I needed to face up to the Pingel electric shifter. This puppy will allow Valerie to shift from the bars, I hope. I had a long conversation with Mr. Pingel and he explained the severe need to prevent any binding since an electric shifter pops through gears with 18 pounds of thrust, whereas Pingel air shifters sports 40-50 pounds of boost. The directions call for the shifter mounted above the foot shift lever on the frame.
The lever off the trans is a couple of inches shorter than common foot shift levers and that concerns me, since it will take more thrust to drive the shorter lever.
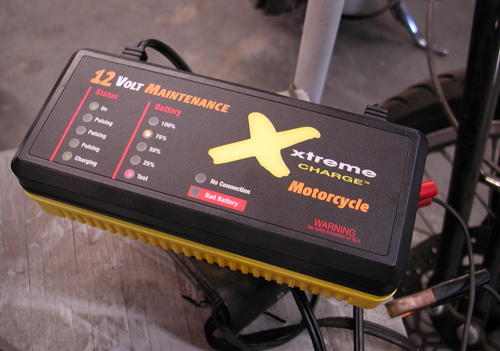


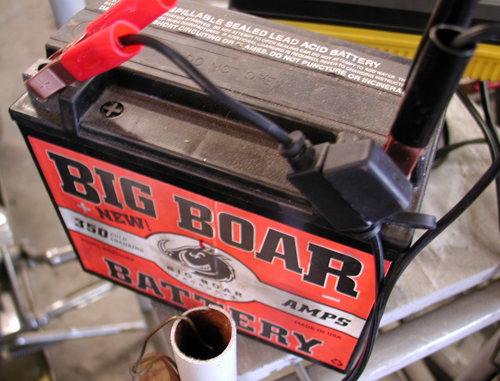
The Pingel directions call for a static test of their system before installation so we charged our Big Boar battery with a new Xtreme Charger. It’s cool, tests the battery and gives you tremendous info. After charging over night and watching the LED lights blink from 50 to 100 percent charge on the Xtreme Charger we tested the Pingel electric shifter and it did exactly what it was supposed to do.
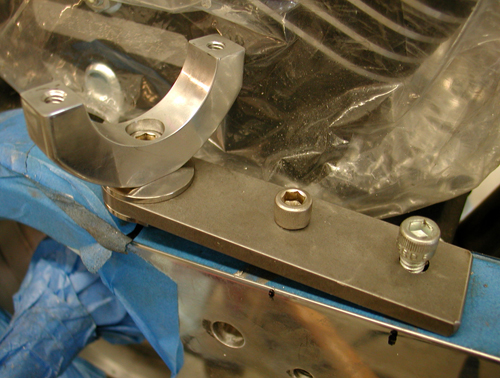
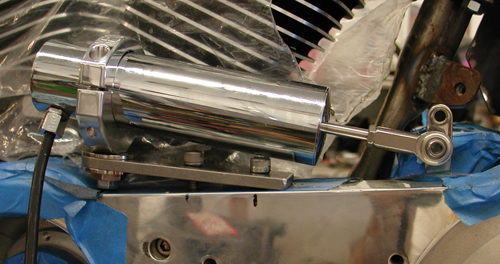
Pingel supplies all the wiring, connectors and components to make their system work, including this mounting bracket which I cut, drilled and mounted to the top of the BDL inner primary, by drilling 1 inch holes and taping them with 5/16 coarse threads.
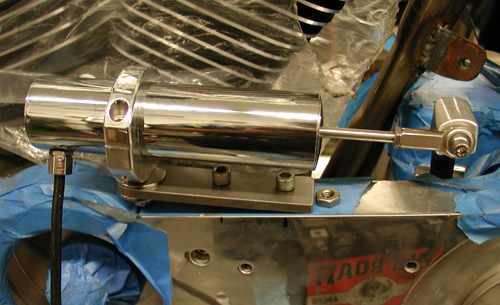
The directions call for the clamp to rest close to ¾ the length of the solenoid cylinder for the best angle on the thrust. We shot for the prescribed deminsion and came up close.
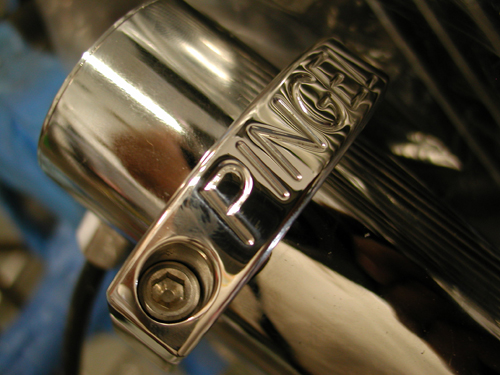
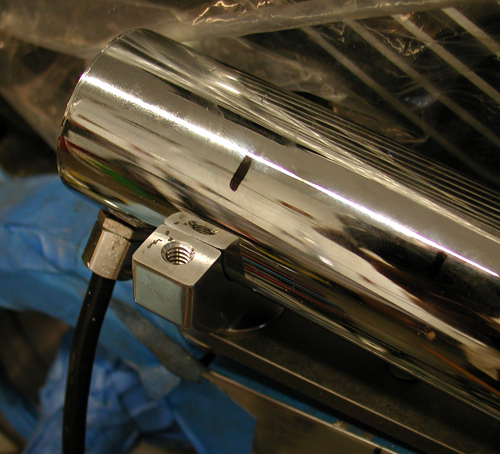
Here’s a major consideration for mounting. First, we wanted the Pingel solenoid to make a direct thrust and not be forced to hit the shifter at an angle. In addition a critical element needed consideration. The thrust of the Pingel unit is 2 ¼ inches, or 1 1/8-inch in each direction. The directions call for avoiding slamming the solenoid to full capacity, but just slightly less. “The strength is at the end of the reach,” Mr. Pingel explained. But I could damage the shifter if it went too far. I had to test the shift lever reach and make sure it would shift within 1 1/8 inches in each gear, confirm it and test the positioning of the shifter.
The positioning looked good from front to back, so I moved on to create something that would extend out from the tranny to reach the Pingel heim joint. Actually I just spoke to Wayne Pingel a couple of minutes ago, “It's all wrong, Ball,” he said. “You need to pivot the clamp 90 degrees. Not the cylinder, just the clamp and move it away from the wiring slightly for shifting ease.”
I'll fix it in the next segment.
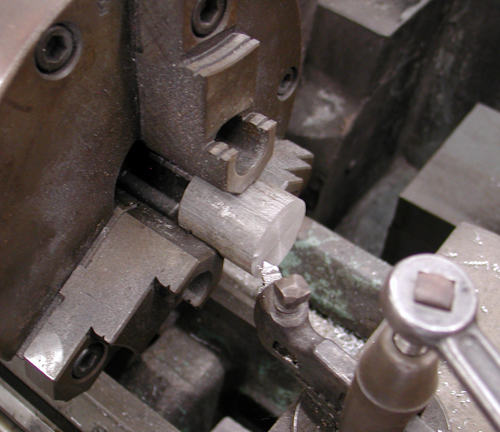
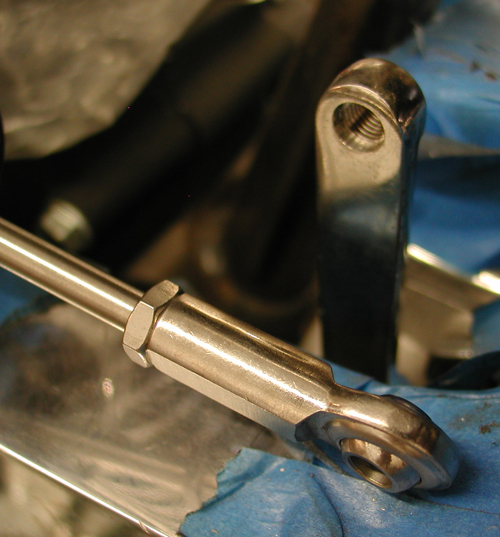
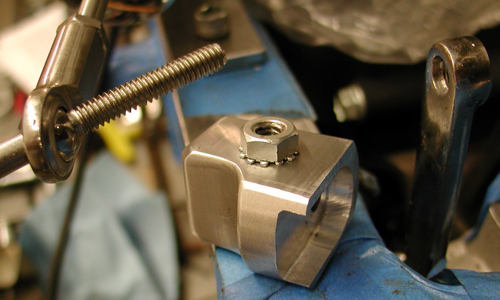
I dug around in our metal bins for a chunk of aluminum to make a stand off from the tranny lever to the Pingel shaft and went to work machining it with our new, old Logan lathe we just recently bought from Gard Hollinger’s LA Chop Rods shop. He was moving new equipment around and didn’t need another lathe crowding his shop. I was jazzed to have it.
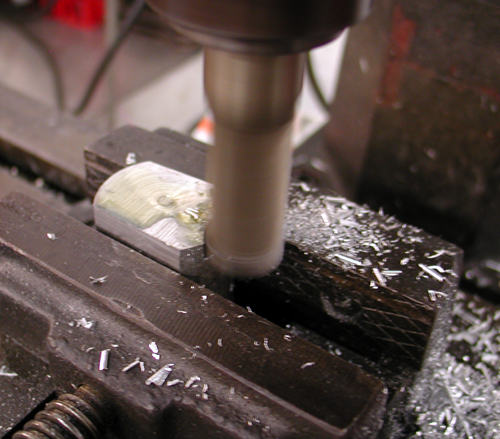
Working in the shop alone has it’s drawbacks. I machined this piece and it worked like a champ, but there’s always an alternative. I wish I made it so it could be adjusted for a longer throw, if I needed it.


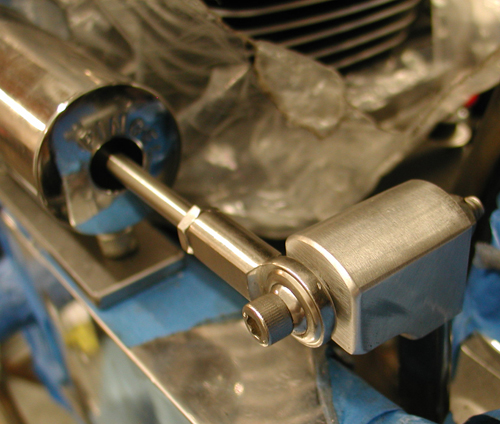
The masterpiece worked well to give the Pingel unit a solid, direct throw. We’ll see if it works. I’ll ask Mr. Pingel to check this article and let me know if I headed in the wrong directions. Whiskey, women and the wrong direction are ingrained in me.
The Pingel directions call for the solenoid to rest in the 80-90 degree relation to the shifter. I think we hit the nail on the head with that requirement.
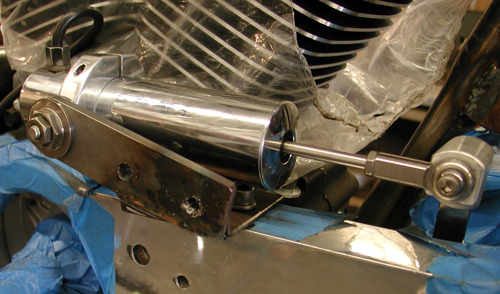
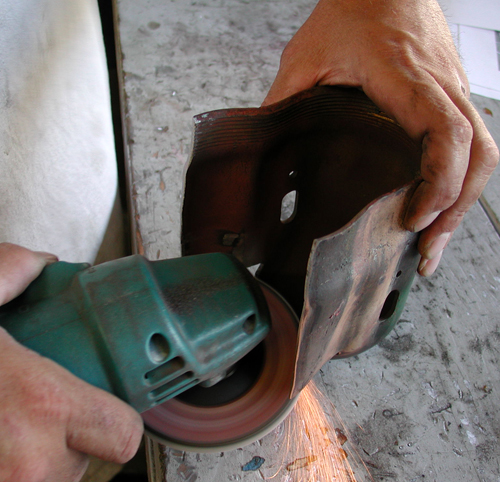
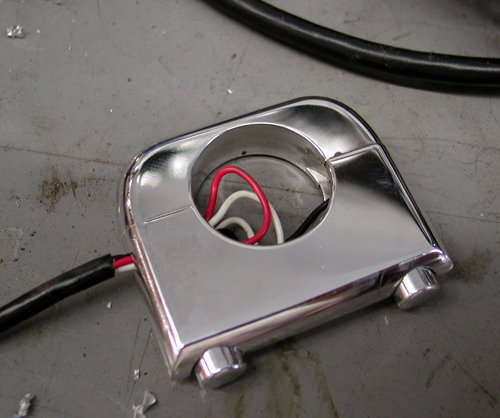
Remember the U-bolt for holding a NOS valve guard. Well, the lovely Nyla suggested we mount the guard to the frame and I came up with this crazed notion. Since we’re not concerned about weight we cut up a Acetylene bottle guard cap, split it open and went to work.
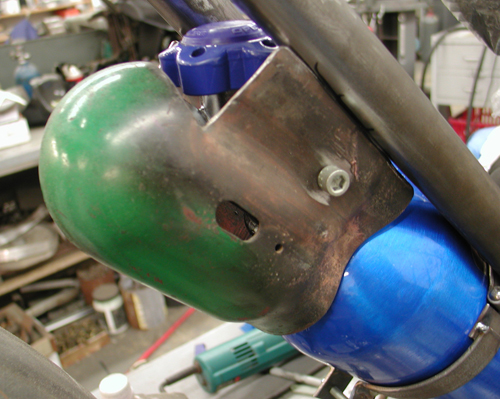
Jeremiah is a master with a grinder, except when he nearly ground a finger off. He cut the cap a couple of times and ground it to contour the shape of the NOS bottle. We welded tabs to the frame, and that puppy fit securely around the valve. We still needed to pick up the necessary fittings and make sure the hose can escape back to the NOS solenoid.

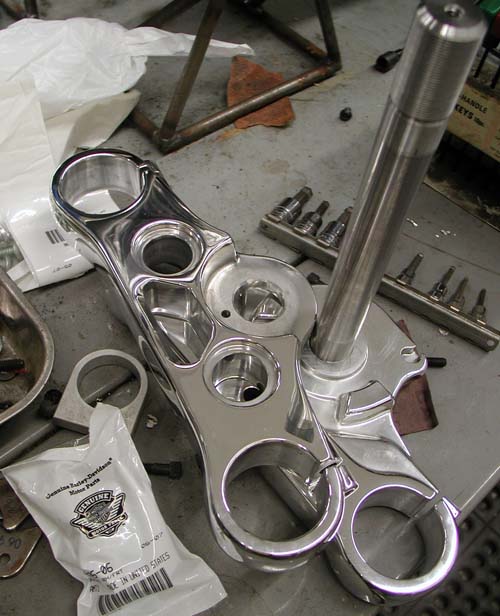
A reader reminded me to my chagrin, “Just 45 days left before Bonneville.” We’re burnin’ daylight fast, but we’ll make it goddamnit. Fortunately the Harley-Davidson front end parts we're arriving and we scrambled to make the front fender. Then we can finish welding all the tabs, let the master grinder, Jeremiah, have at the frame and send all the shit to powder and paint.

HARLEY PART NUMBERS FOR THE KILLER 49MM DYNA GLIDE FRONT END:
45948-06 left leg
45947-06 right leg
45718-60 stem nut
45717-63 lock washer
45538-06a top crown
46384-06 bottom crown and stem
48198-06 Dust shield
48184-01 top dust shield
48307-06 Bearing adjuster
40928-06 Axle
(4) 4351 fork screws
40936-06 right spacer
40940-06 left spacer
6590HW washer
7068 Lock washer
7956 axle nut
Larry, from the Chop N Grind Team and Palm Springs H-D, helped me scramble through the numbers, so the order would be correct the first time—we hoped.
I ordered the sprockets from Azusa Engineering. I needed to have the handlebars bent by a local guy in Long Beach. Maybe we’ll attempt to bend them ourselves. Then we need to figure out some of this wiring mess and we’re ready to rock. See ya at the next segment. Don’t grind your teeth. I’m crunching enough for all of us.

Jerry from Rollin’ Sixes Choppers sent the following suggestions regarding paint:
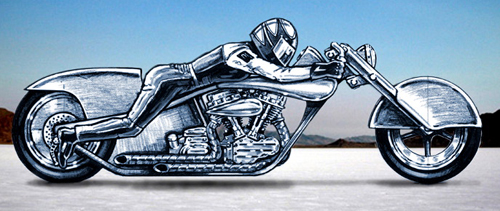
It’s been awhile since I last talked with you. I’d like to see it painted in big flake like we use. That bike will look like flashing diamonds going across the flats, but that’s just me. We got one of the best nose art, and pinstripers in the country working with us. So if you need anything just let us know. I want this bike to look like a ghost bike riding out of a mirage in the distance. I want people to see the flashing of the flake thru the heat waves coming off the desert floor before they see the bike. I want them to hear it, then see the flashing of the flake before they can tell it’s a bike. I want it to hyptonize them.
I usually keep this to myself, you will be surprised who doesn't know about it. I like to Cryogenic my motor, trans, etc. I really think this will help you set a new record. I got a 89-inch stroker motor that I have used this on and it eats 124s for lunch. It’s been together for about ten years now with no problems and I ride it hard. It has over 200,000 miles on it. It drastically cuts down friction in the motor. We have a place down here that does it. The motor can be done after it’s together.
–Jerry
Rollin Sixes.
239-770-6024