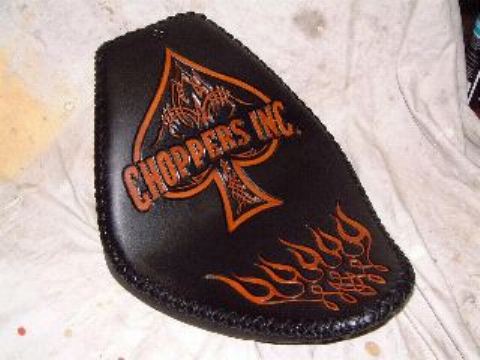
Paul Cox Custom Leather has been creating custom leather seats professionally for over 12 years. His client list includes the likes of Indian Larry’s Gasoline Alley NYC, Billy Lane, Jesse James and Exile Cycles to name but a few. Paul’s handmade work is definitely the finest available anywhere at any price. Each seat is hand made to perfection, and Paul uses only the best materials available.
I had the opportunity to visit with Paul at his Brooklyn, NY shop a while back. Usually, his methods are a well guarded secret, but my being a long time leather worker and die hard rider, I was able to convince Paul to share some of the tricks of the trade with us. Following is the step by step procedure Paul used in the creation of this seat for Choppers Inc. If you feel up to it, try and make your own.
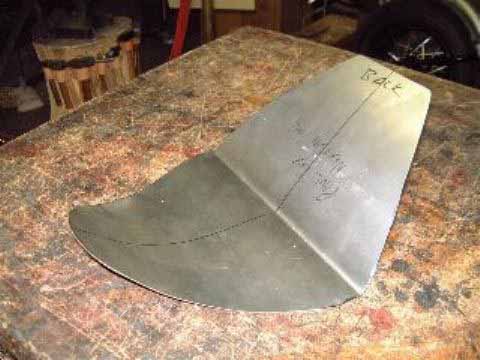
Photo1: The seat pan for the Choppers Inc seat is made from 16 ga. Steel, custom fitted to the frame.
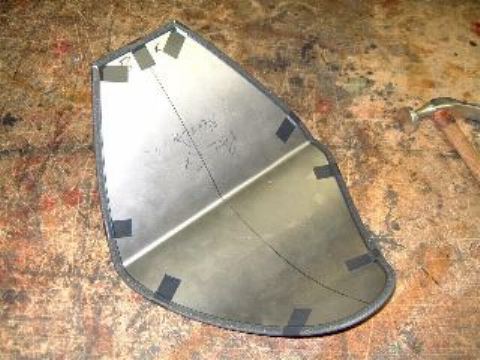
Photo 2: The edge of the seat pan is covered with trimlok auto edging to protect the leather from being cut by the pan.
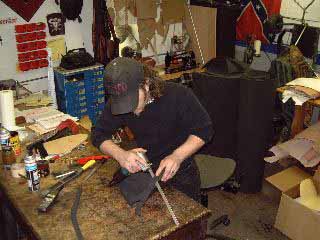
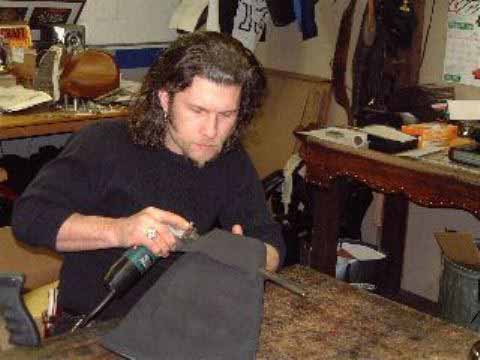
Photo 3&4: Paul uses a hi-density, closed cell water-proof neoprene core for the seat. NOT cheap carpet padding that some other high-end seat manufactures use. He uses spray adhesive to affix the foam to the pan. The foam is rough trimmed to shape here with a Bosch foam cuter, not an electric turkey knife!!
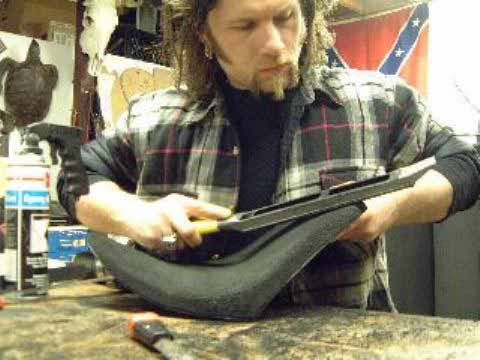
Photo 5: Paul Cox finishes the hand molding of the neoprene with a shaping tool similar to the tool used to shave down sheet rock. You can find a tool like this at your local home center.
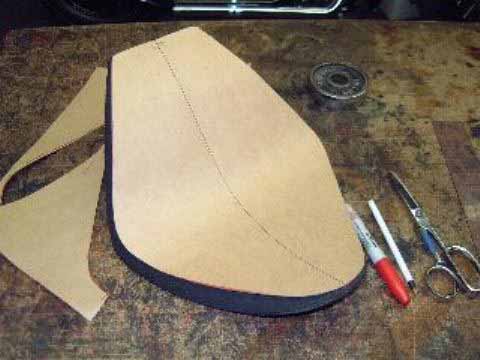
Photo 6: Making the pattern for the leather. Heavy brown paper, folded to find a centerline, is laid over the seat and traced to get the perfect shape for the top of the seat.
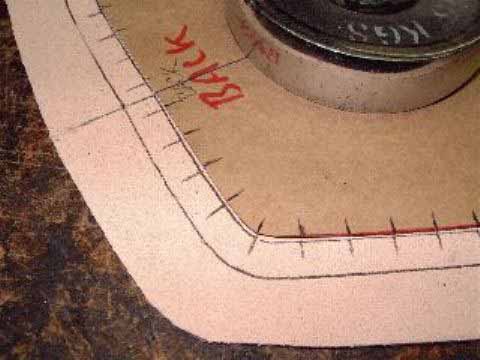
Photo 7: The lacing holes are laid out on the pattern according to the type of stitching required and then transferred to the leather. A word about leather here: If you have a factory seat, you might be surprised to find that it’s not leather at all, but cheap vinyl.
Many makers use it because of it’s low price and its water-proof characteristics and actually because most people don’t know the difference. Paul doesn’t use it….ever.
Leather is the real deal. Why not go for the best? Paul generally uses a vegetable tanned natural tooling leather. Veg tanned hides tool and dye wonderfully. Try a 6-oz weight and if you have to make any tight tucks or bends, you may want to consider a slightly thinner 4-oz for the sides.
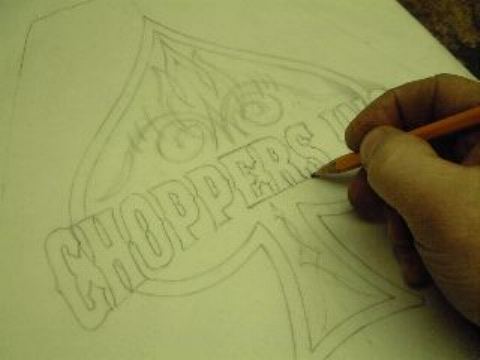
Photo 8: Now the fun part begins. You have to decide what you want on the seat.
This is the pattern Paul designed for Billy Lane of Choppers Inc. The pattern is a full sized template.

Photo 9: Casing the leather. Casing is a leatherworker’s term for getting the leather wet enough to accept the tooling, but not so wet that it drips. This is a trial and error procedure for the non-experienced seat maker. Take a scrap of the leather and get it good and wet. Then let it dry out for a few moments and you should be good to go.

Photo 10: Place the pattern on the cased leather and use a stylus or a ball point pen that has run out of ink to transfer the pattern directly onto the damp leather. Be careful that no ink bleeds through the pattern onto the leather.
On to Page 2…
Back to the Garage…