Sponsored By

Although you haven’t seen it in a fully assembled state, the rigid has actually been mocked up to completion. However, anyone who’s built their own sled knows that an assembled bike without paint and powder just isn’t quite the same as the finished product. Although a primered mock-up will show you the lines and shape of a bike, the machine doesn’t truly come to life until it’s been dawned with color. For that reason, we saved a lot of the assembly detail for you until the paint and powder was complete.
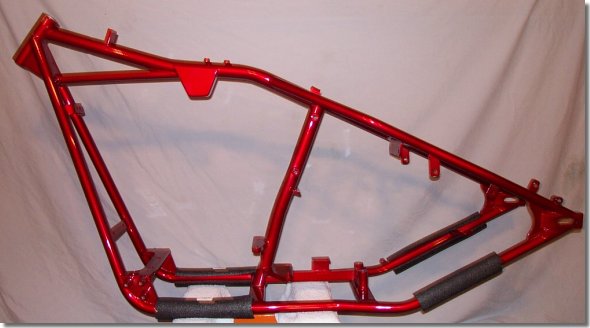
The mocked-up rigid was torn down to the frame, which was sent out for powder coat. It came in only a few days ago and blew my socks off. Although the photos shown here make it look screaming red, it’s actually a deep sunset orange.
The powder coat was done by Hytek Finishes in Kent, Washington. Hytek was the ONLY house I could find in the area that had worked with anything other than a flat powder. This one is a candy orange, color matched to a House of Kolor Kandy paint I’d selected as the base coat for the sheet metal.
Candy paints are valued mostly for their depth. They are made of a base metallic coat covered by a transparent paint. House of Kolor offers a color book for about $42 that you can order from their Web site. Many custom painters around the country use and are familiar with these paints, so they make for a good standard to work with. Candy colors will vary slightly based on the thickness of the transparent color that is used to coat the base.
Candy powder is a little different. The base principle is the same, but you are limited on thickness that can be sprayed because the metal has to be charged to get powder to stick. If the base coat is too thick, you will lose the charge and be unable to get the top coat to stick. Whenever you pick a powder house to do your candy color, make sure they’ve used such paints before because they are tricky to use. This one had a couple of thin spots underneath because the powder coater didn’t want to lay it on too thick. Fortunately, the areas are under the bike that nobody will ever see.
The way I had this matched was to send the House of Kolor sample to Hytek Finishes. They sent the sample to their ‘Prismatic Powder’ supplier, who custom mixed the powder for the job. Not many places do this, so you may have to do some searching. The results are well worth the effort.
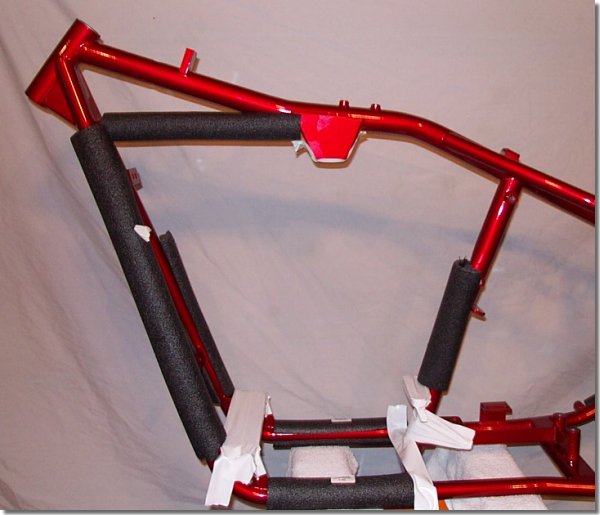
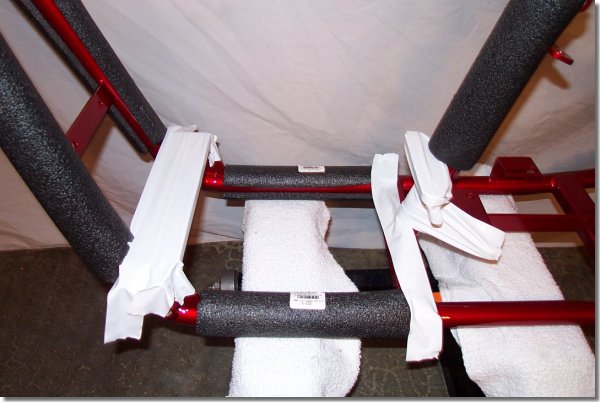
With the frame back in the garage, it was time to get started. The first order of business was to get the power train in place. I started by prepping the area where the engine would sit in the frame. To do this, one must take the time to pad the area so as not to scrape the shit out of the newly finished frame. I used a combination of plastic tape, pipe insulators, towels and bubble wrap to do this.
On to Part 4, Page 2….
Back to Part 3….
Back to Custom Chrome on Bikernet….
Back to Belt Drives Limited on Bikernet….