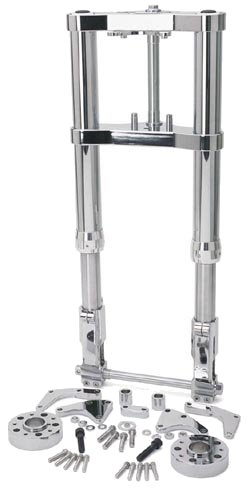
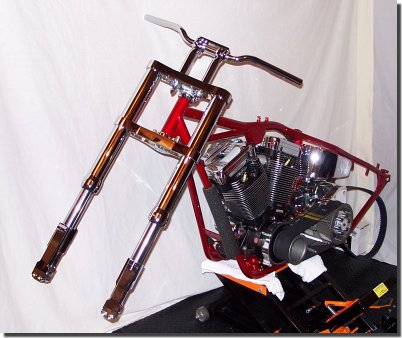
With the help of our friends over at Chrome Specialties, Bandit and I aquired this front end for the project.It’s a set of 54 mm Inverted GBC forks. The 30″ length is just right for this low slung sled.
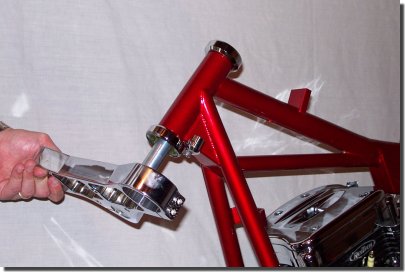
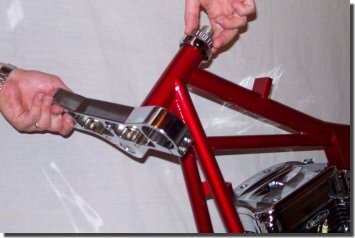
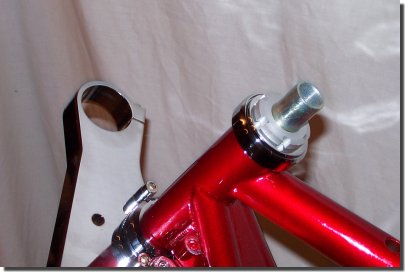
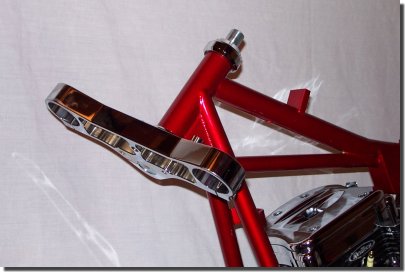
We start by preparing the neck. On this frame, we’ll need neck cups to install the fork.The metal piece below the neck is the custom fork stop that needed to be used.These can be interesting on high-rake frames.Custom Chrome sells a couple of different options that I’ll be looking into later for the project,because I’m not 100% happy with this one.
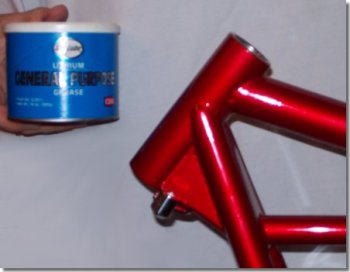
Using fine sand paper, clean the inside of the neck cup to eliminate any rust, powder coat, or paint overspray.Then, coat the inside edges of the neck with some grease to ease the installation.
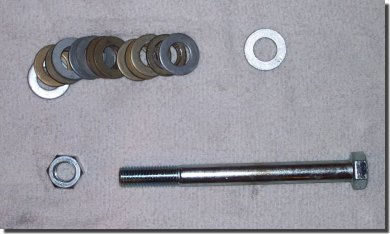
Here are the simple tools used to install the neck cup.A 3/4″ bolt, nut, and washers to make an inexpensive tool that will be used to pull the cups into the neck.
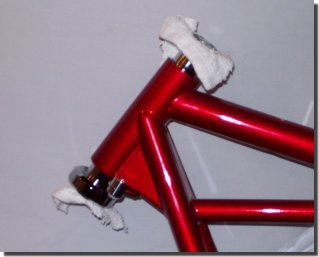
We then took an old rag, cut a couple of small pieces out, and put some small slits in the middle to fit the bolt through.
Put a few washers on the bolt, then slip on one of the small rag pieces. Place it through the top cup and set it intoposition at the top of the neck.
Then, slide the lower cup into place, put the second piece of rag on, then the washers and the lower nut. Hand tighten the assembly.Check to make sure the assembly is aligned as to not hit the races with the bolt head and nut. The rags are designed toprotect those races.
Tighten the whole assembly using a pair of large wrenches – or an impact wrench will make this a lot easier if you have access to air tools. Just make sure everything goes in straight when you tighten the assembly.
Remove the makeshift tool and you’re done.
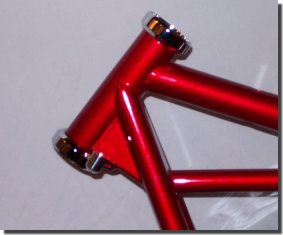
Here’s how the whole thing looks from the front.
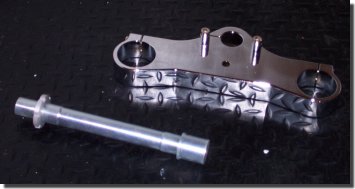
Next, the lower triple clamp needs to be readied for install.

Place the neck shaft into place, and tighten the lower pinch bolts. Place the dust shield on, then the lower bearing. The bearing should then be greased and worked to insure good coverage.
Grease the top cup….
And place the assembly into the neck.
Place the top bearing on the shaft, then…
place the top dust shield and lower – top nut.
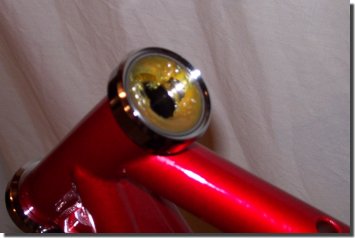
The assembly will now stand on it’s own.
Place the top clamp and nut, and tighten lightly. Some play is needed to get the tubes in easily.
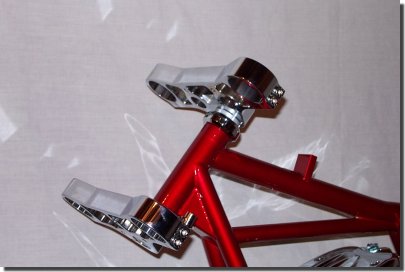
At this point, the trees are ready for the tubes.
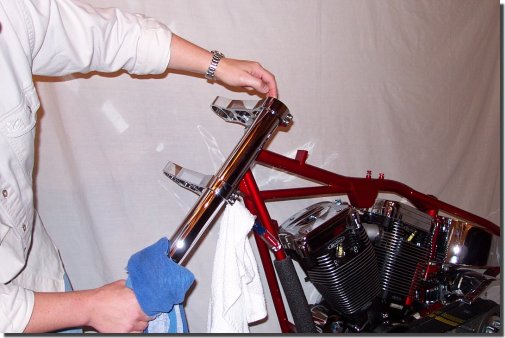
The tubes need to then be CAREFULLY slid into place. Caution must be taken not to scratch the hell out of the tubes.Some builders actually use wax paper, or other thin barrier to wrap around the tubes during this process. You can alsouse a small screwdriver and padding to spread the pinch clamps a bit, making it easier to slide the tubes into place.
When complete, tighten the pinch bolts around the tubes. Then, tighten the top nut. Close the top pinch assembly around the top bolt LAST.

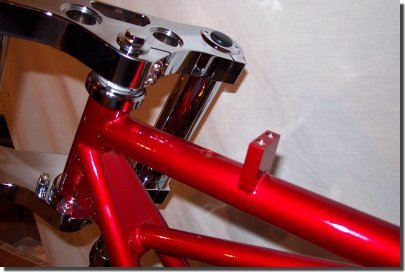
The front forks are now installed. Simple eh?
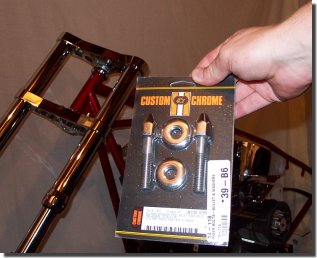
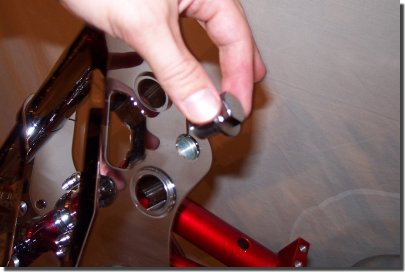
This bolt kit from Custom Chrome needs to be used to mount the risers.
I’ll show you all the bracketry and spacers that are used on the front end later when the wheel assembly is ready.Also – I’m still waiting for sheetmetal and paint, so next time, we’ll do the wiring.
Until then – Digital
On to Part 5, Page 2….
Back to Part 4 Page 7….
Back to Custom Chrome on Bikernet….
Back to Belt Drives Limited on Bikernet….