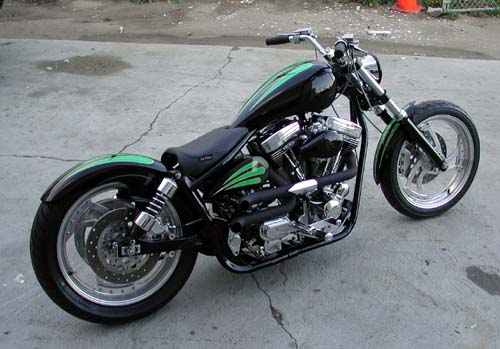
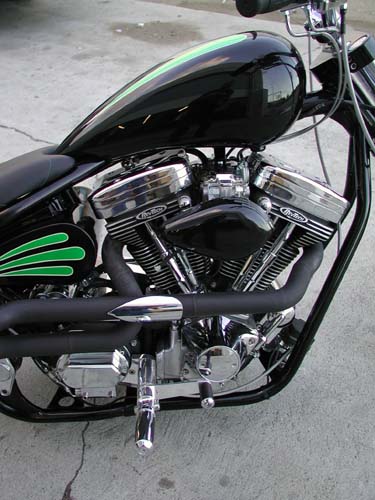
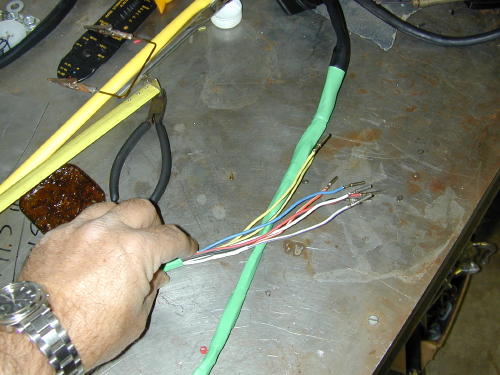
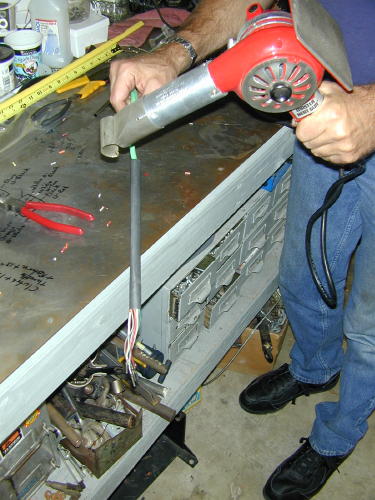
This was actually one of the easiest bikes I’ve ever wired. It’s not a bad notion to sketch out a wiring diagram with consideration for the placement of the components. Think about it long and hard, then take your time. Below this mess I ran the Hardcore Choppers basic wiring diagram and tips on wiring anything.
First, there’s the regulator that bolts over the front motormount. I use Compu-Fire regulators for reliability and they are wired not to over-work the alternator. So you plug the regulator into the case for the alternator connection, run a ground strap under the frame where the rubbermount bolts and the final hot wire to the hot side of the battery, or the hot side of the ignition switch. That wire feeds the charge back to the battery. Presto, goddamnit, the charging system is complete.
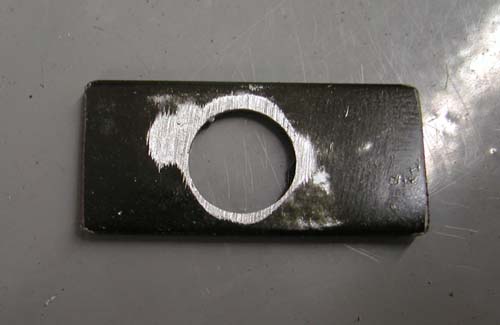
I’m lazy and want the wiring system to be as easy and component free as possible. No extra lights, no turn signals, no horns, buzzers or ringdings. I use Bob McKay’s marine ignition switches for toughness, reliability and ease of wiring. They are distributed by CCI or, if not in stock, contact Bob directly (519-935-2424).
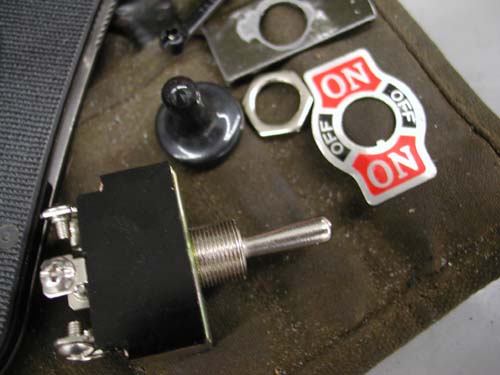

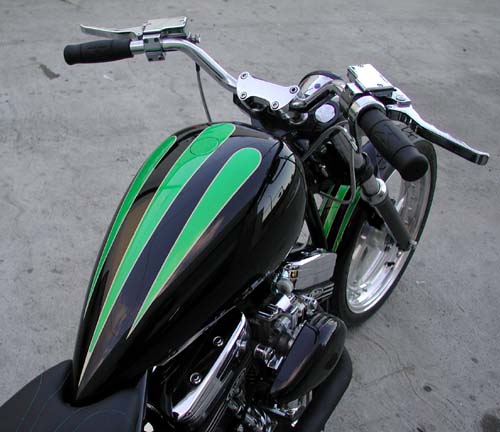
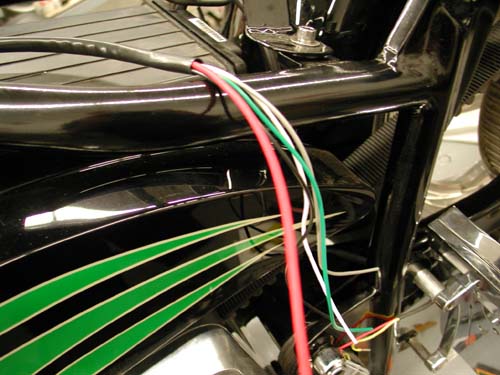
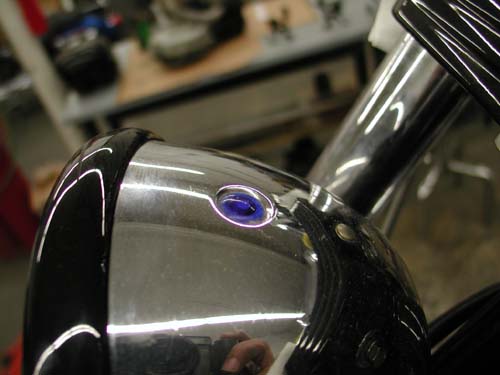
The switch is so complete so you don’t need a starter relay. All it takes is one wire to the starter, one wire from the battery and one wire to the circuit breaker. From the breaker a wire runs to the Compu-Fire single fire ignition system via the coils, one wire to the brake switch, one wire to the taillight and one wire to the highbeam switch. From the highbeam switch two wires ran to the headlight. From the Compu-Fire electronic ignition wires ran to the two Dyna Coils, front and rear and one hot wire that runs to both and the ignition circuit breaker. I ran only one 30-amp H-D circuit breaker, just a couple of inches from the ignition switch.
Since I don’t have space for idiot lights (there’s a highbeam indicator on the headlight), I need to run a oil pressure gauge on the engine.
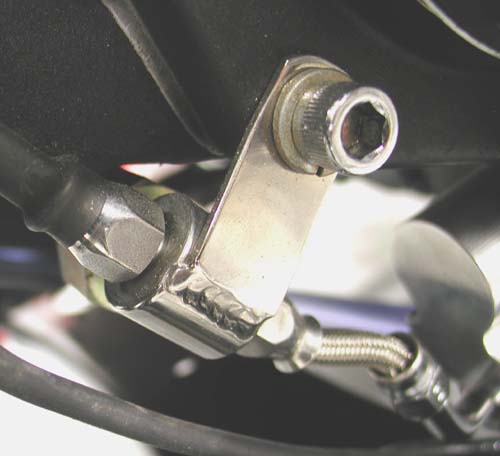
I only use Terry Components brake cables for their service and flexibility. The trick was to find and place the ground straps. The Terry ground strap ran comfortably from the negative side of the battery to the 5/16 starter mounting bolt. That grounded it to the driveline, but I needed a ground from the tranny to the frame. I worked that out by bolting another strap to the sidemount license plate frame bracket (welded to the frame), by making sure the paint was shaved away. I also used the 1/4-20 Allen to support the taillight ground strap. Let’s see, have I forgotten anything?

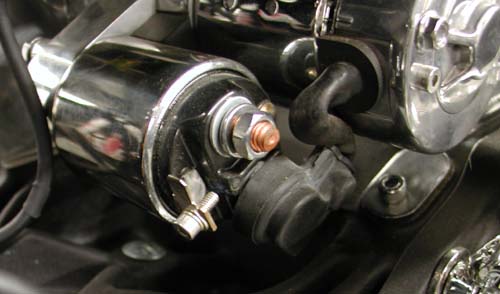

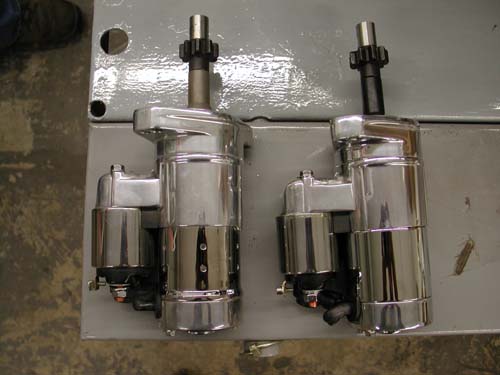
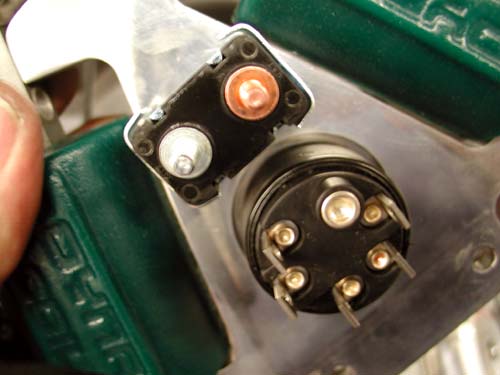
Just before we completed wiring, Giggie, from Compu-Fire, and delivered the new Compu-Fire 53700 hot starter designed to fit any big twin H-D from’90 up. All the special hardware is included and it’s rated to 2KW and was actually shorter by .150-inch for clearance dilemmas with Softail oil cans.
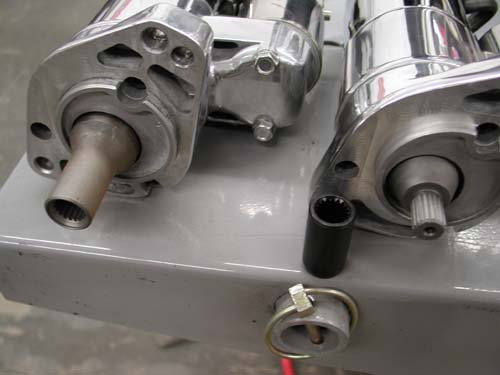
The starter roller bearings are 30 percent longer and it comes with shims to allow builders to install the starter perfectly. The Air gap between the pinion gear from the starter to the ring gear on the clutch basket needs to be between .75 and .125. If it’s too short the pinion gear can’t spin before engagement and collides with the ring gear. It needs to get a tad of momentum going. On the other hand, if the distance is too great, the starter gets up to full speed and fights engagement.
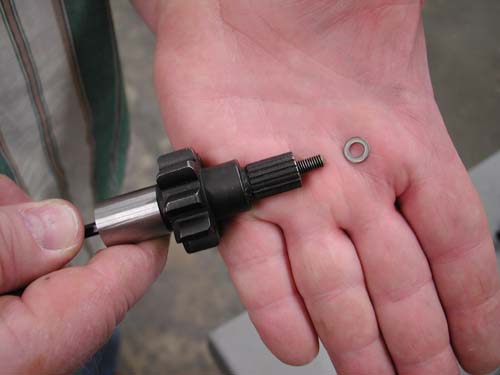
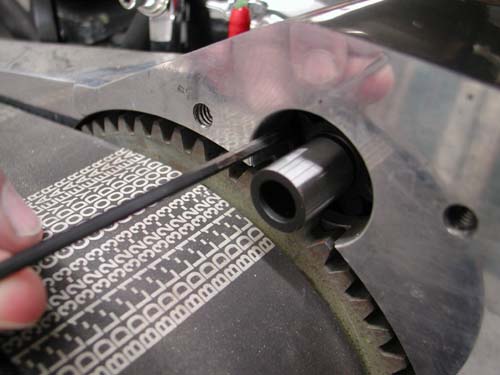
The measurement is difficult and Giggie uses a 1/8 Allen which is .125 across the flats. The shims are .026. Even the coupler on this new Compu-Fire starter is designed for lowered bike, to duck the belt.
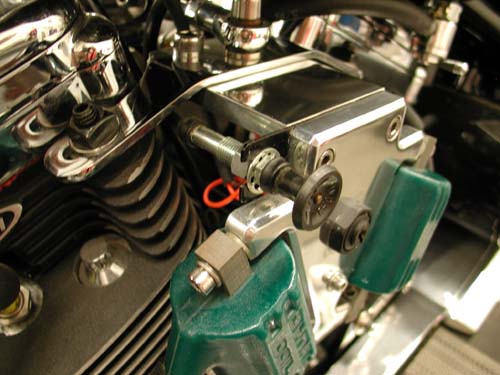
The wiring was completed and we were ready to fire the beast, but first Giggie recommended that we burp the bubbles out of the engine by removing the pump relief cap and using an Allen to pull up the valve and let bubbles pass for a pure oil lubrication.
The bastard fired right up, the Mikuni gushed gas, but as soon as it fired the Mikuni float bowl settled down.

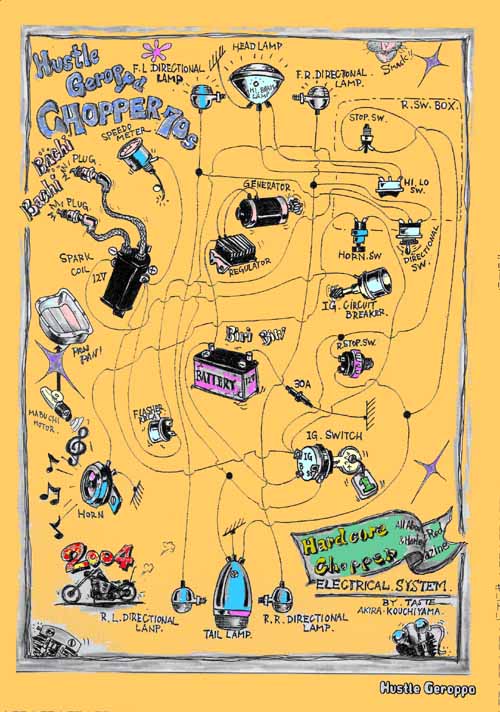
We often get calls for basic wiring diagrams. Here’s one that was taken from an old Easyriders and expanded by the wizards of Hard Core Chopper Magazine in Japan.
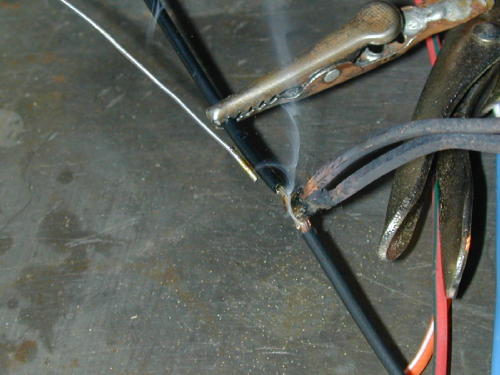
Take your time. Keep those copper strands away from sharp edges, moving stuff (like chains) and hot items. Cover everything with shrink wrap. Use extra layers of shrink wrap for more protection and stronger connections. I like to solder connections for a solid, vibration free contact, but some prefer crimping connections to avoid wicking. Watch out. Some of the littlest, coolest switches go to shit in a week under 100 mph vibration.
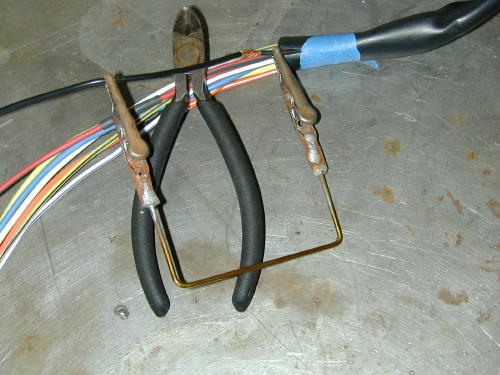
The Frank Kaisler, patent pending, wire junction tool. Send $99.99 to P.O. Box 666, Hollywood, Calif. Send only rolls of quarters.
Don’t forget to work in circuit breakers and fuses. If one blows, disconnect the battery and research the problem. I like Terry battery cables for their flexibility, and they allow more amps to flow to the starter because of their low resistance.
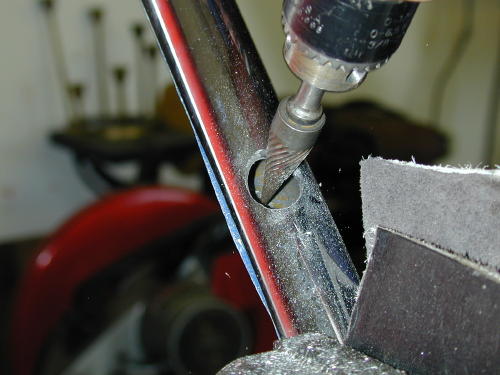
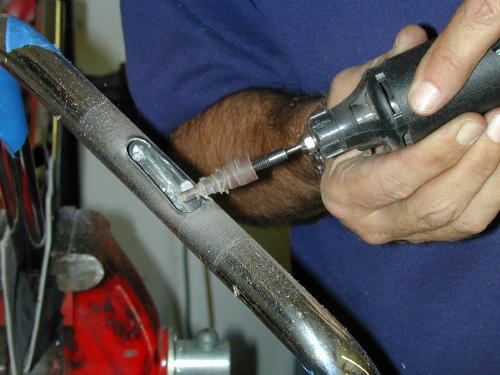
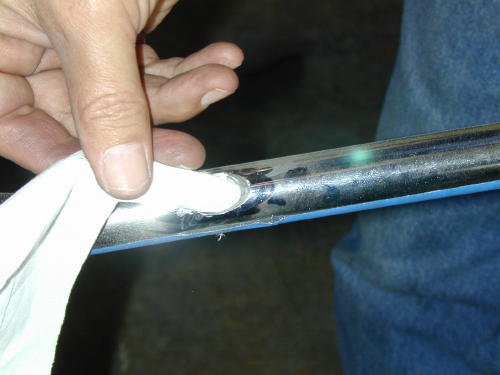
Couple more tips: Watch out, wiring around the front-end. That sucker needs to turn. Don’t run the electrical connections too tight. If you run wires through the frame, debur the openings and use extra shrink wrap to protect fragile insulation.
Bandit generally uses 16-gauge for most of the wiring, 18-gauge in the bars and 12-gauge from the battery to the ignition switch.
I called Frank Kaisler, a tech writer for decades, and before I finished reading the above he shouted across the line, “Yeah right, but you’re forgetting plenty, dipshit. Don’t forget to tell ’em about the breakers. Use a 30-amp breaker between the battery and the main electrical circuit (or the battery and the ignition switch). You can use one of the breaker lugs to attach the regulator hot line to minimize wires to the battery. Use 12 gauge wire for the main leads. Use a 15 or 20-amp breaker between the ignition switch and all the lighting connections.
“Goddamnit, you didn’t explain wicking. Solder creeps under the insulation when it flows. The wire will flex against that soldered area and may break.”
“Yeah right, after two hundred years,” I muttered
“Shut up and listen,” Frank lit another cigarette.
“Quit smoking,” I babbled over the phone.
“The way your ride,” Frank coughed, “you won’t last another week. Let’s get back to the wires. I like to remove the plastic insulation on lugs and run shrink wrap right onto connectors, for a clean, stronger lead, and damnit, use the correct connectors. Blue for 14 and 16-gauge wires and red for 18 and 20. And make sure to use the proper ring sizes for stud connections, like the battery, circuit breakers and brake switch studs. Floppy lugs make for lousy connections.”
I was beginning to lose it. We could go on all night about wiring. He muttered something about using rubber grommets with wires that must run through sheet metal and additional ground straps from the headlight to the frame to maintain a solid ground to the front end.
“Don’t forget the final show bike detail,” He said and I remembered all the rats bikes I built in the ’70s with wires running everywhere. “Run wires down the left side of the bike. The hot looking side is always the pipe side.”
“Okay goddamnit,” I said. “I’m not writing a book. Just a handful of hints.” I sensed a lecture coming from a guy who edited bike magazines for 30 years.
“Do it right, Snake,” He coughed lighting another Marlboro, “or don’t do it at all!”
“Thank you, sir,” I said and hung up. Fuckin’ guy is worse than Bandit.
BRAND NEW CUSTOM CHROME CATALOG RELEASED–
Custom Chrome’s new offering for 2004. The California based distributor brings you the most comprehensive product offering in the Harley-Davidson aftermarket! At over 1,200 pages and over 22,000 part numbers, their 2004 Catalog features the new RevTech 110 Motor, Hard Core II, Ares bikekits and noumious frames and forks–everything from nuts & bolts to performance products. It’s the Custom Bike Bible for the year.
ONLY $9.95 + 6.95 Shipping**