
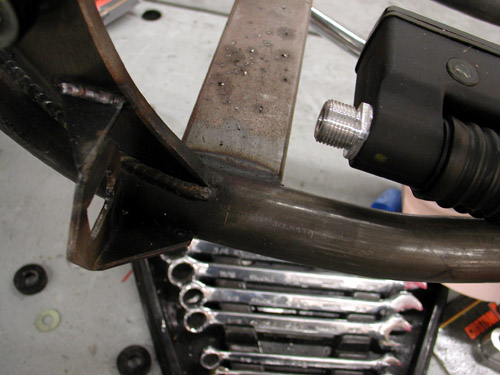
Life is bananas, and I add to the frustration by fuckin’ with everything. I can’t just bolt a part on, stand back and say, “Cool.” I’ve got to fuck with it. The V- kit comes with complete foot controls, but they were too far back and too high for my long lanky self. I cut them apart.
But first, since they were cast I had to ask the designer some questions. Fortunately John Reed, from Custom Chrome, is a good friend and here’s what he said. FXR and dresser primaries are the same dimensionally, however theouter primaries are the same on both, butthe inner primaries off the dresser has a piece on the front for the gear shifting bushing and shaft.
If you use the OEM primaries, I don’t recommend using latest models. Tochange the starter motor ratio on these the factory used a clutchbasket with more teeth on, but they are smaller than the early ones andthey break if engines with more power than stock power are used.
Late model primaries (1998 to present), use a starter motor that fitsthis year primary, it has a smaller diameter inside thread than earlymodels (‘94—‘97). It uses a smaller dia. starter shaft with smallergears to match the clutch basket.

If you want to use the latest model primaries on a big inch motoryou can use a 1994-1997 clutch basket (which uses the same clutchplates ) with the stronger starter gear, but you have to use a largerthread starter motor gear instead of the OEM one. Does any of this make sense?
Custom chrome sell them on page 11.45 (bottom right hand side).
— John Reed
I don't know what the hell he was talking about, but fortunately Wink Eller is working for BDL, in the R&D department, on a tall geared, super strong Bonneville system. So I didn’t need to worry about the starter gearing and clutch ring gear. I always use super strong Compu-Fire alternators and starters on my bikes and have never had a problem.
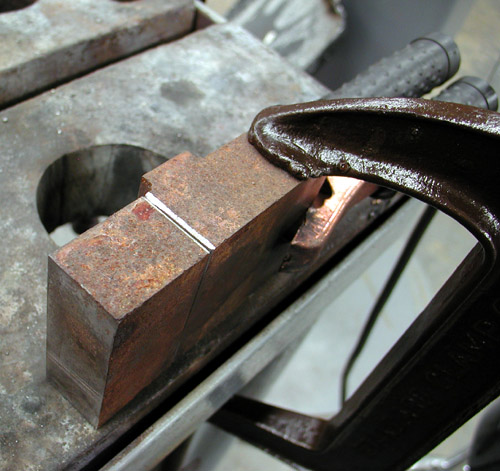
So first I cut two massive chunks of steel to move the controls forward and drilled and taped them. I noticed that the left controls with brake pedal attached had two 3/8 coarse bolts and the holes in the other side were 5/16 coarse. I drilled and taped both 3/8s.
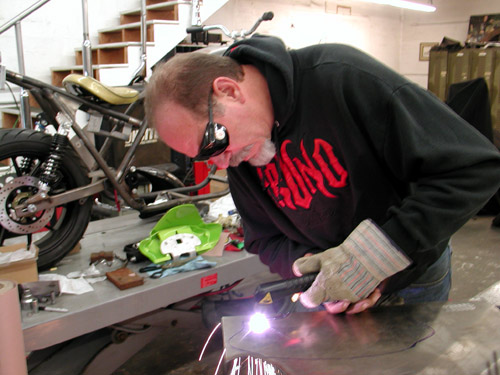
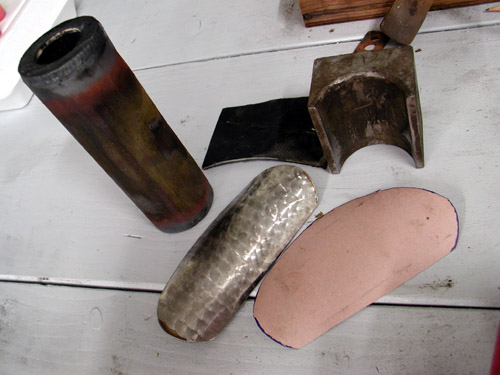
Remember the Le Pera solo seat? Well that left a massive notch in the rear of the tank for the original seat. I decided not to change tanks but use that area for a switch panel since I don’t plan to run switches on the bars or turn signals. So this is where the Plasma cutter came in handy. Jay showed up with the used cutter. He bought the sucka but never used it. It requires 220 volts and most folks don’t have those heavy outlets sticking out of their garage walls.
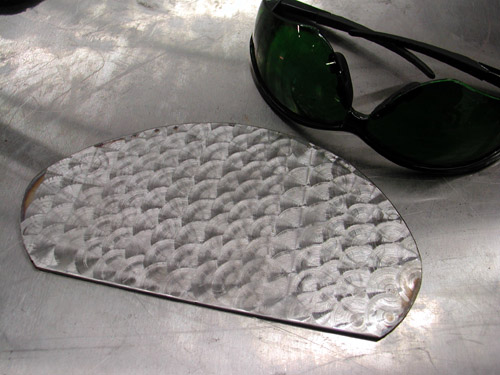
We pickup up the proper plug end from a Home Depot and wired it. It wouldn’t work. I called Kent at Lucky Devil and he clued us. We needed to have enough air in the compressor line to kick the switch, then the tip was used and wasn’t making an acceptable connection. We replaced it an went to work. Plasma cutters are amazing, safe, easy to use.We cut the chunk for the switch panel. Then we shifted to the milling machine to try our hands at machine turning the surface. It worked.
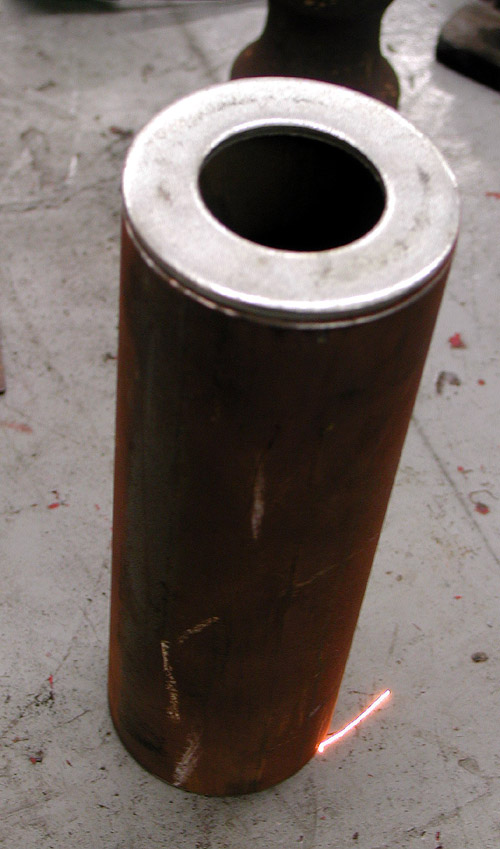
Next we moved to the bending procedure. We have pipe bending machine and a small stock bender, so we’re learning how mandrels work to form steel. We used a pipe bending mandrel and made the male out our of thick wall tubing with heavy washers welded on the ends for more strength.
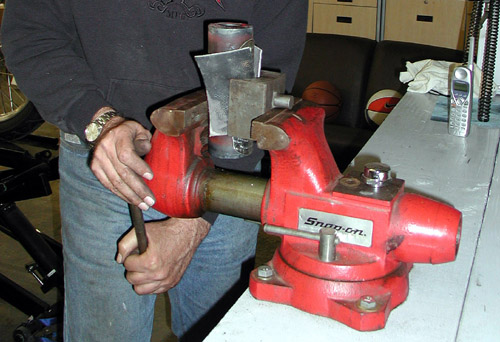
Then the massive Snap-On vice came in handy to crush our panel into the mold and is worked! We were blown away.
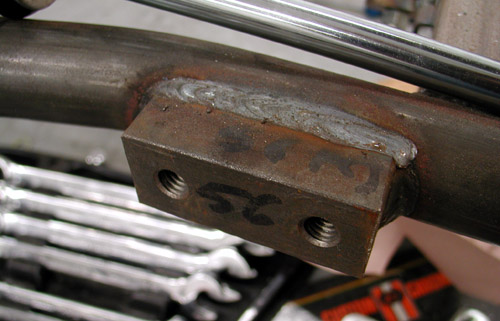
The next trick was building brackets to hold the panel in place. We used chunks of that same thick wall tubing to make arched brackets.
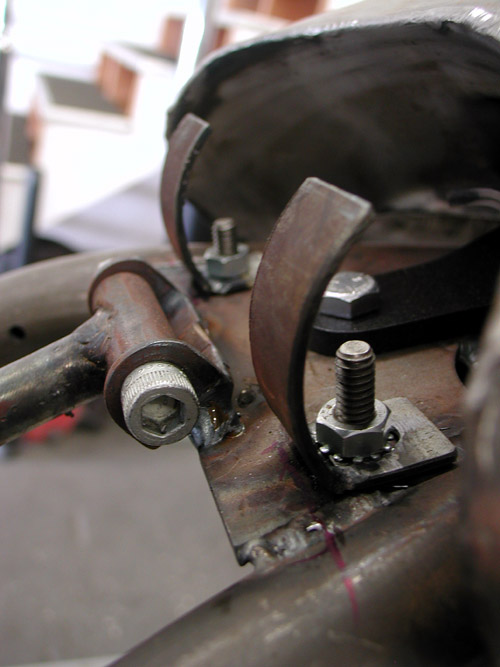
This shot shows the first aspects of building the brackets, welding them to tabs and drilling the holes for the frame connections. I needed to find a place to hold them so the fasteners would be accessible, but the brackets need to be spaced far enough apart to fit in the switches and fasten them.