Mentally I’ve kicked off this chapter a thousand times. I come up with one lead after another to characterize my feelings at this construction juncture. I still feel two months behind schedule and scrambling. On one side side we’re making real progress, on the other, well you’ll see.
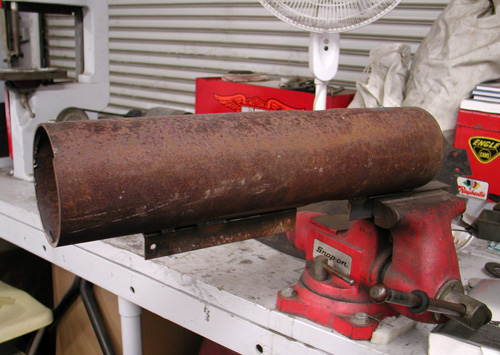
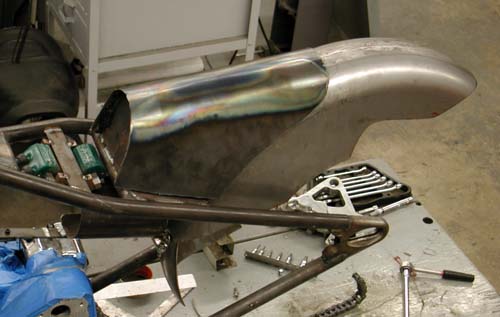
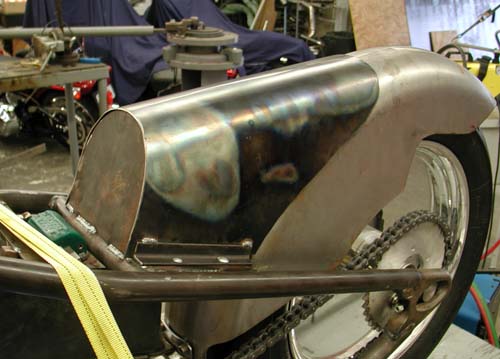
Last chapter we began bending our seat back form. We pulled it over a chunk of rusting tubing and kinked it the first time out. We welded angle iron on the tubing bottom for gig and worked the 16-guage, mild steel sheet metal again using heat from a rosebud torch. It worked better. We beat, bent, ground and formed for a day. Jeremiah, a young, local, building contractor, has a master’s touch when it comes to grinding. I’m too impatient and heavy handed.

We worked it and worked it. I used packing straps to pull it into place and more heat. Then we welded chunks of small ¾ inch angle iron to hold it down. With Jeremiah’s help, it was coming together. Under the seat I intended to install wiring connection boards or fuze holders and circuit breakers. I wanted to prepare for accessible and easy-to-locate connections for quick salt repairs. I spoke to Arron Wilson about nitrous system. He’s run nitrous for over 15 years and suggested that we keep the system as simple as possible, but Berry Wardlaw, the god of Panhead power, from Accurate Engineering had the fortune to consult with the gods of nitrous on the east coast.
“Wow, that was fast didn't think you would be awake yet,” Berry said. “I am bringing extra nitrous bottles with me so we can change them out. I will have the answer today about needing two. I was going to use the other bottle to help pressurize the nitrous. I am calling Keith Turk right now. He is the world’s fastest on nitrous and lives here in Alabama. Mounting will not be a problem, but make sure Tom (Rodan) ok's the bracket.”

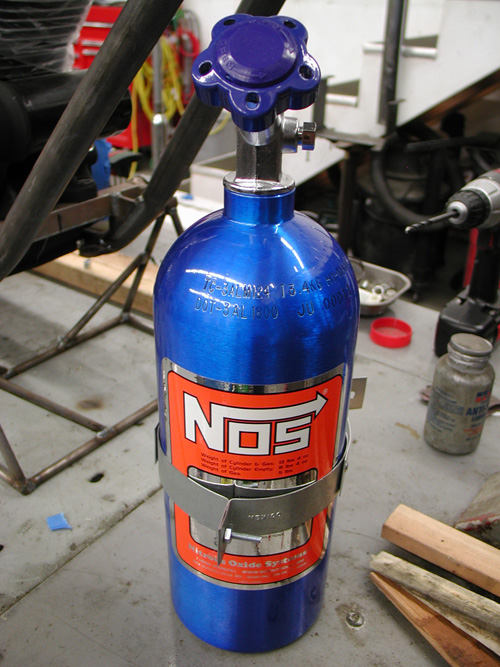
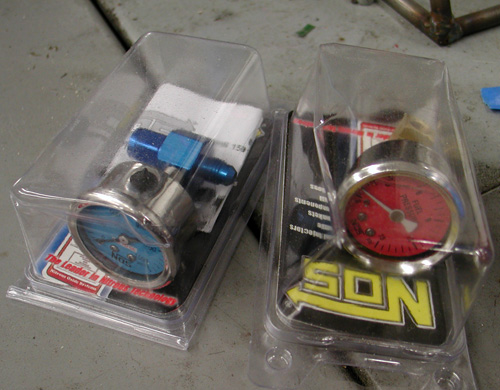
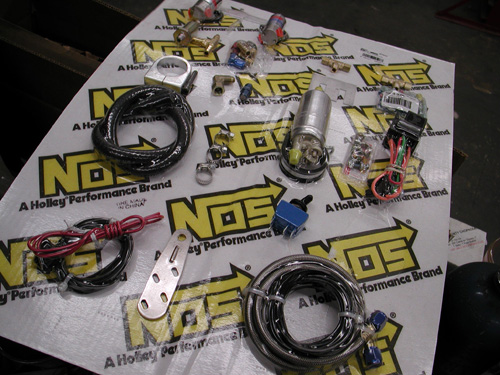
Berry spoke to the crew at Holley, who owns Hooker, and with their input, he ordered the A50558-SNOS system complete with a 5-pound bottle, two gauges, nitrous solenoids, filters, nozzles, lines, clamps, arming switch, relay, pushbutton, you name it. It’s a plumbing project and I’m glad we planned considerable space for mounting all these elements. Nitrous is not a super fuel, but a system that injects pure oxygen into the engine under pressure, which is perfect for the elevated, 4000 feet, Bonneville Salt Flats.
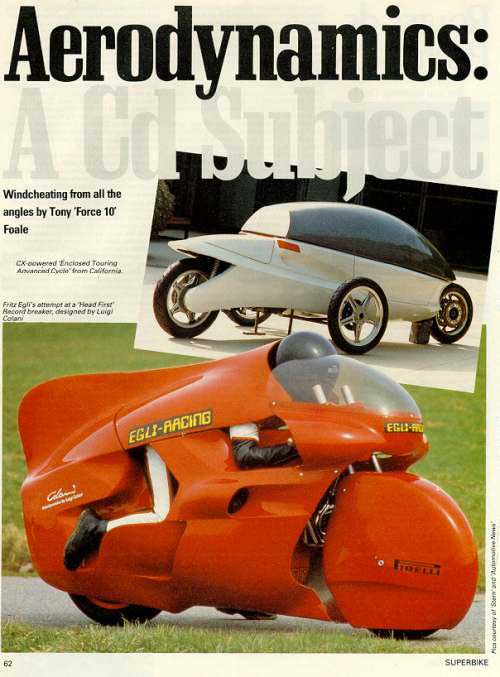
I’ll touch on the aerodynamics here. We’ve been grappling with the technology, wind tunnel research, and NASCAR design. It’s a blast to study, read and constantly filter the information against what we have in mind. I kept thinking lower and lower, since the basis of NASCAR design is to keep the air out from under the car for a couple of reasons. It creates lift and drag where it tries to squish down and slip under the vehicle.
I thought I had a plan. We were going to work with Leo DiOrio to drop the bike even further and run a belly pan under it for a pure slick surface. In addition we were considering a Hamster air damn in front of the frame to force the bike down against the ground. We were going to slam the chassis against the salt. Then one morning I received a call from Colonel Wardlaw, the Panhead commander, “Lt. Ball,” he said in his deepest voice. I was still asleep, but I always take his calls.
”Yes sir,” I mumbled trying to pry my eyes open.
”Regarding your NASCAR and wind tunnel findings, I have a problem,” he continued. “It’s a motorcycle. It must lean. Valerie must turn it off the track.”
I sat bolt upright in bed. “Goddamnit Colonel,” I spat. “You’re right. Back to the drawing board.”
We shit-canned the belly pan and shifted back to the original plan of the oil bag under the chassis, but designed in such a way to be ultimately user friendly with the wind. You’ll witness that project in the next chapter.
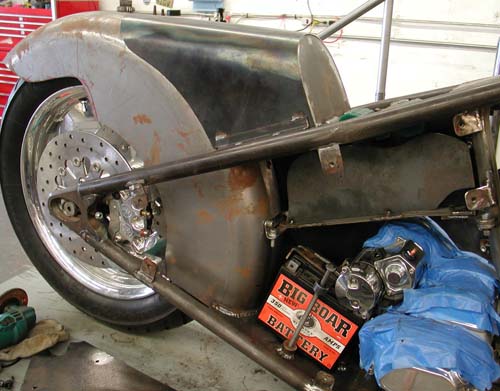
I did build a belly-pan of sorts, behind the frame cross member holding the rear transmission mounts. I made it out of ¼-inch steel plate and it reached and cupped the rear fender. This puppy worked in several ways. It grasped and mounted the front of the rear fender, and I discovered that it centered the fender perfectly over the wheel and made it as tight and solid as a battleship hull.
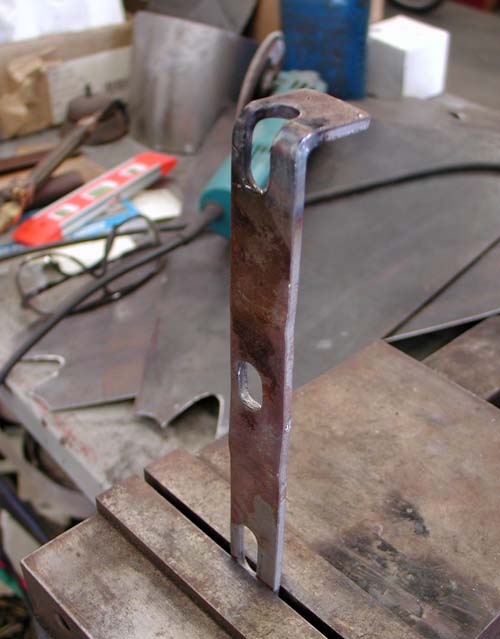
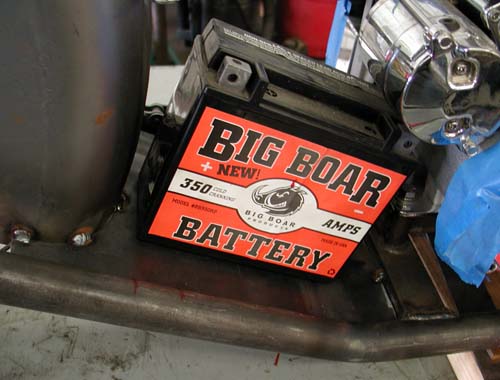
The rear pan worked also to release any air under the transmission up and away from the motorcycle. I needed to check with Vance Breeze, another motorcycle performance mastermind, but my initial goal was to point the rear of the bike like the trailing edge of a wing allowing the wind to escape the confines of the mechanical beast with the least amount of drag. In addition this heavy plate would help hold the rear end down and become our Big Boar Battery platform.

Here’s another comment from a Bikernet Television viewer: Bill Hayes here…I received an interesting email from a guy in Minnesota who saw/heard the interview I did with you for Charlie's internet biker show. The guy really took your Bonneville experience to heart…below are his comments…thought you might be interested:
I saw last weekend’s “Inner Circle” show and took an interest in Keith Ball's story about going to Bonneville with a bike he built. If you are in contact with him and he would be interested in some aerodynamic input, I’d suggest he take a look at the shape of a tear drop. As silly as that sounds it happens to be one of the least drag, most aerodynamically perfect shapes. (I dug that up after wondering why a raindrop is shaped the way it is, another of those childhood curiosities, I just couldn’t let go of, and no there was no mood altering chemicals involved.)
”He mentioned that weight on wheels seems to help with traction, he might take a look at the tail of an airplane, specifically the horizontal stabilizer. It actually produces negative lift (downward force) to counteract the weight of the airplane that is out in front of the wing (ie. the nose). He mentioned that he can’t put a fairing around the bike, but I think that with a combination of tweaks, including the shape of the rider, that they could come up with a good and slippery machine that sticks to the ground well.
”Some ideas would be starting at the front of the bike at the first part that feels the air (such as the fender), trying to direct that airflow to meet the headlight area and flow smoothly up and over the rider (shape of helmet, seating position?) and around the bike and rider with the same slippery idea. Also, the way the air flows under the bike can have a great deal to do with keeping it stuck to the ground.
”There is a book that is a good technical reference on the theory of wings and how they work. It’s kind of technical but has a lot of great info on aerodynamics and airflow. The book is called Theory of Wing Sections by Ira H. Abbott and Albert E. Von Doenhoff.
Maybe they can take the idea of a wing, which is basically supposed to carry something through the air with the greatest efficiency and the least amount of drag, turn it upside down with the idea of moving through the air with the least amount of drag and using the downward force to keep it stuck to the ground.
”It sure sounds like a fun project and I wish them well and hope for their success.
”Thanks for another good show, You and Charlie B. are a class act !!”
— Matt Ferrari
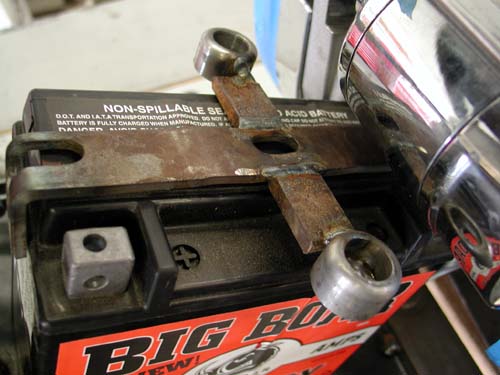
I went to work mounting the battery. It’s humorous how the slightest element of building a bike can become complicated. I wanted the battery to clear all elements, not rub against the transmission or be close to the chain. We needed to be able to remove it, pad it and reach the terminals.

I made thick 1-inch bungs and taped them to 3/8-18 threads for a solid connection, then discovered that with the tall bungs in place I couldn’t remove the battery without removing the transmission first. That wouldn’t do. I removed the tacked bungs, ground the welds away and machined them down to 5/8-inch height. Ultimately, I welded in a block to prevent the battery from slipping forward. With each tacked modification we tested, removed and replaced the battery.
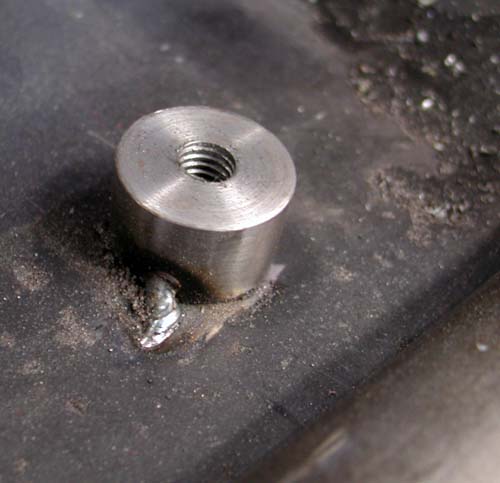
It’s tough to build any bike without all the elements in place. In our case we needed an engine, the BDL primary drive, the Baker transmission and all the pulleys and sprockets in place and linked. The slightest movement from any major element and we could face serious consequences. I used an old engine-shipping, top motormount to make the top battery strap and I’ll need to order the proper length stainless Allens from our fastener sponsor, DMP.

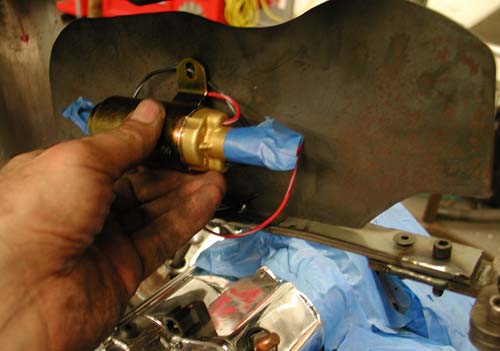
Somewhat confident with the battery mount we worked on the circuit panel above the battery and cut it to clear the spark plug wires, but give us lots of room to install Nitrous solenoids and fuel pumps.
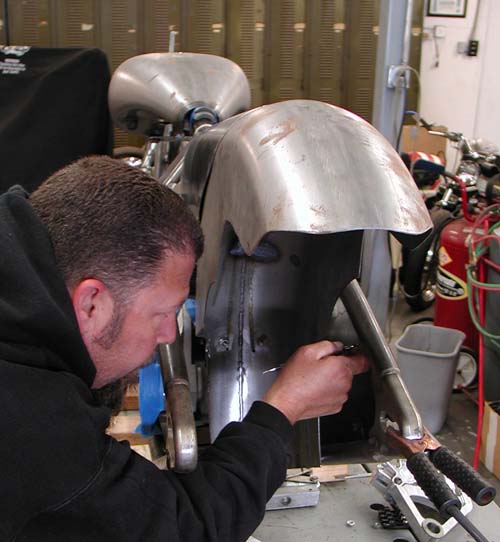
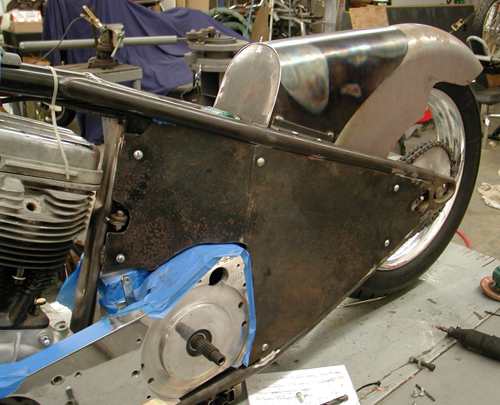
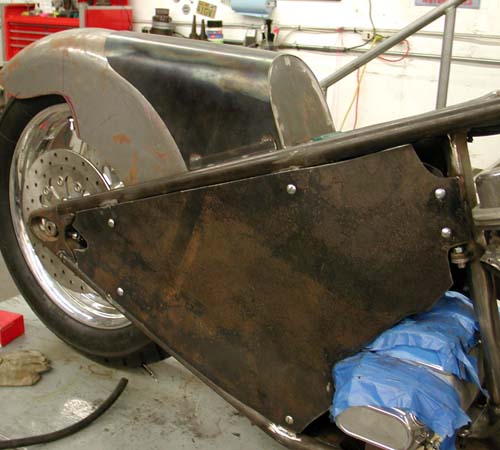
Some element of this masterpiece can’t be handled or roughed out solo. I needed another set of hands to actually attach the side panels and make bungs to hold them in place. Back in 1990 on the Easyriders team the brothers used Zeus fittings to hold the panels in place, the same fittings that hold Harley-Davidson saddlebags in their cradles. For some reason, I just used ¼-20 nuts welded to the backs of 1/8-inch thick brackets I’ve held onto for 20 years. Don’t throw anything away and organize shit, so you can find it. Ya never know.
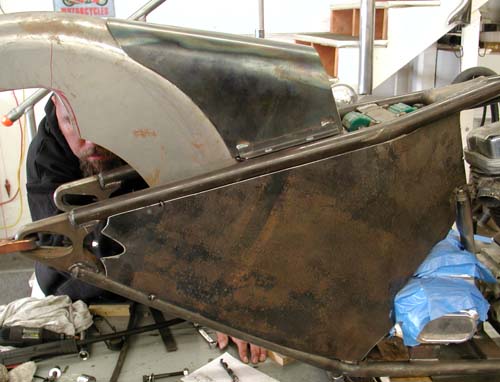
We tacked one panel in place and removed the rear wheel, battery and transmission. Jeremiah wore a leather glove and held the brackets in place while I tacked them. We scored the inside of the bracket fastener, as a guide, to drill panel holes and ground our outside panel tacks away. We removed the plates, welded the brackets, Jeremiah drilled the holes and we tried fitting the panel again.
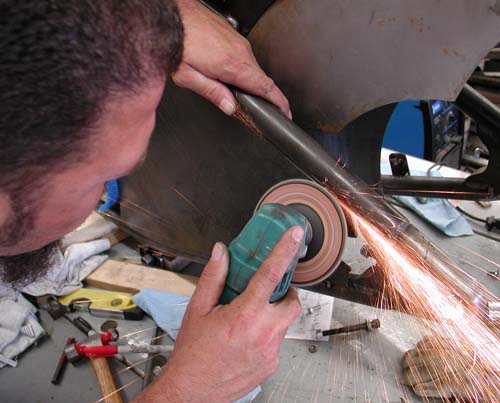
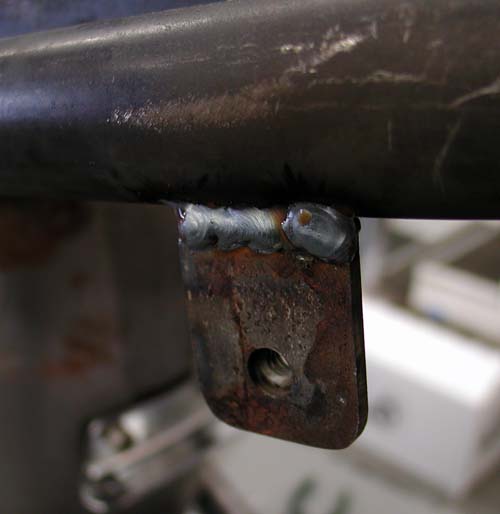
Again we had to think about tubing and wiring routing, and eventually we knocked a couple of tabs off and relocated them.
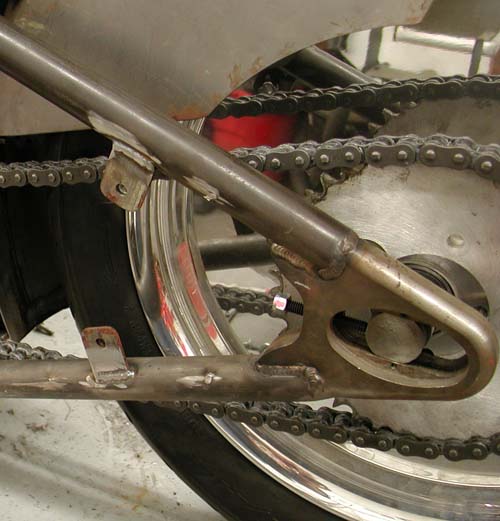


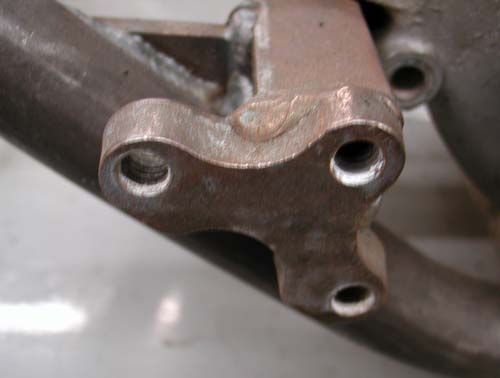
Before I could consider building the oil bag, since we still didn’t have a front end, I needed to create a center-stand that wouldn’t interfere with anything and hold the bike securely. I was using two, 2-by-4s which amount to just over 3 inches in height. We kept wandering around the bike looking for a way to make a stand. One option was the Paughco front peg mounts, which we had no use for. Again, we wanted something strong and secure, without interfering with aerodynamics. I went to work Plasma cutting chunks of flat ¼-inch steel, grinding and drilling them.
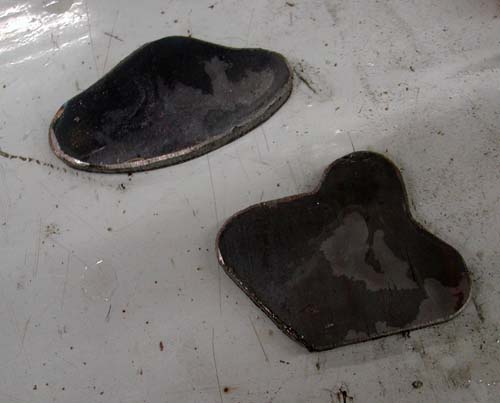
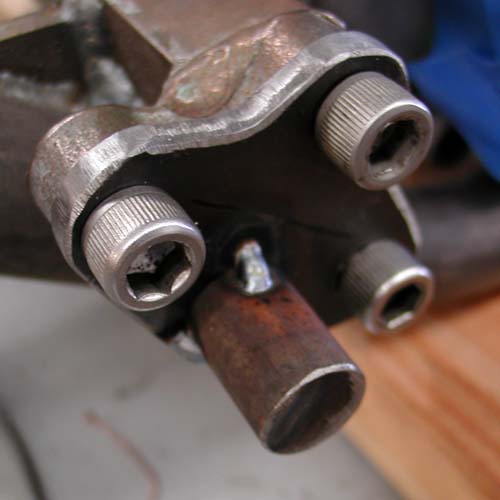
I swear that some days I can indicate the appropriate location for drilling and bore holes all day that line up. Other days I couldn’t drill a hole in the proper location for all the opium in China. This was one of those evenings. Maybe she was on my mind, I don’t know. Then I needed to figure out what height and create a plan. I went back and forth a number of times, cut chunks of solid stock 1 inch long, made a number of measurements and finally tacked the big tits in place taking care to insure that they were aligned, so the stand would be square on the frame. Then I cut thick wall tubing sections a ¼-inch less in depth to avoid jamming against the welds.
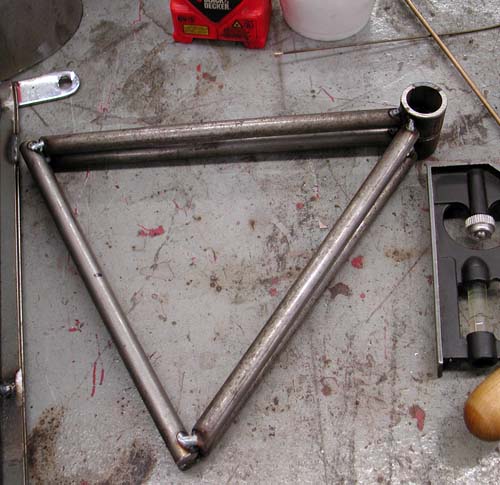
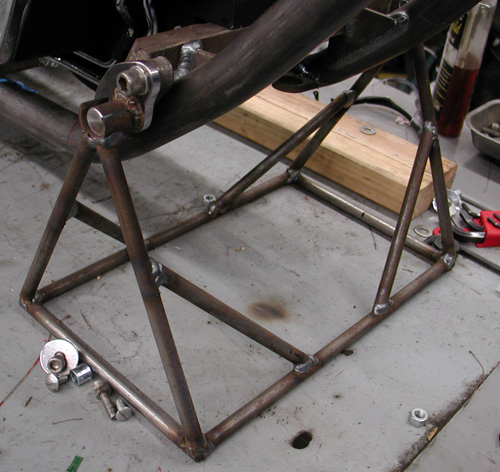
We measured the height of the desired lift time after time and fucked it up a couple of times before we nailed it down. Then we cut lengths of solid 3/8-steel rod and built the platform. All-in-all, it came out cool and holds the front of the frame securely without hindering our oil bag construction or mounting.
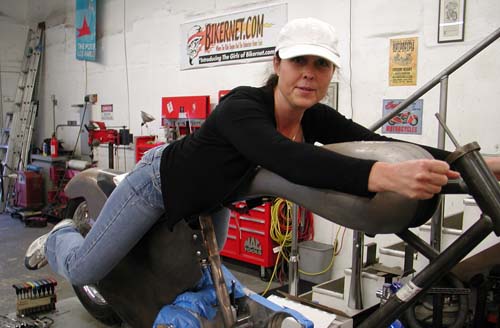
Wait until you see the oil bag under construction, plus we will show you the rider pegs in the next chapter. Every element impacts another aspect and we need to finish the chain guard required by the SCTA rule book.
