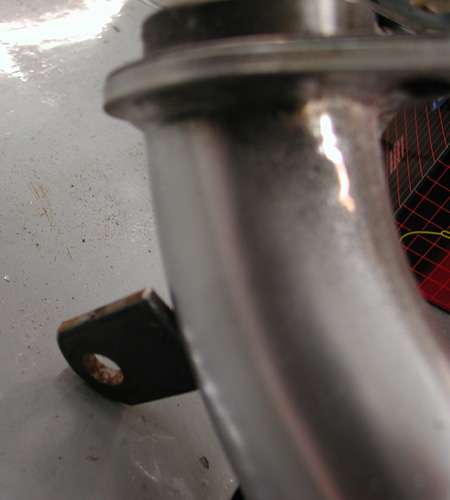
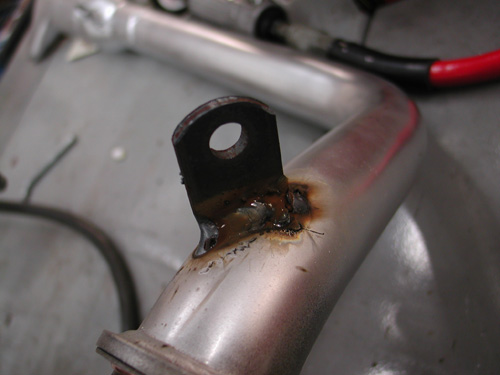
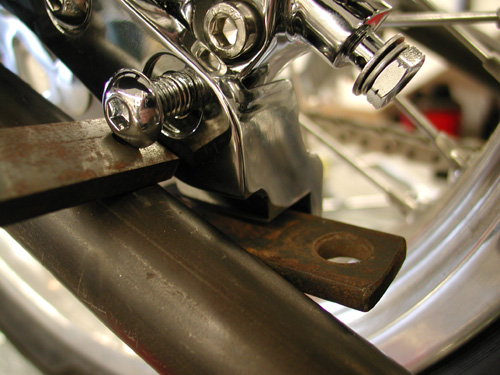
My first move began with a correction. I removed the exhaust pipe tab welded to the oil bag. The oilcan is rubber mounted, the exhaust pipe generated severe heat and the pipe system needs to be solidly mounted. It had to go. Actually Kent from Lucky Devil Metal Works in Houston tried not to mention the false move, but his frown gave it away. Or was it that question? “Is your rear pipe really mounted to the fuckin’ oil bag,” Kent said tentatively?
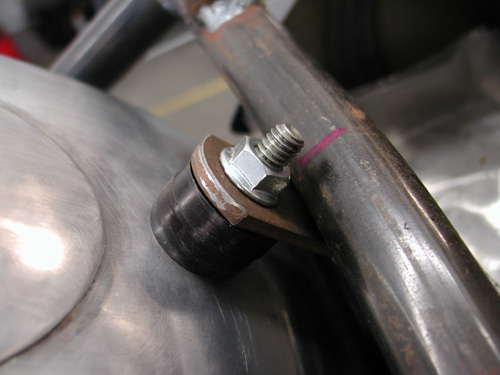
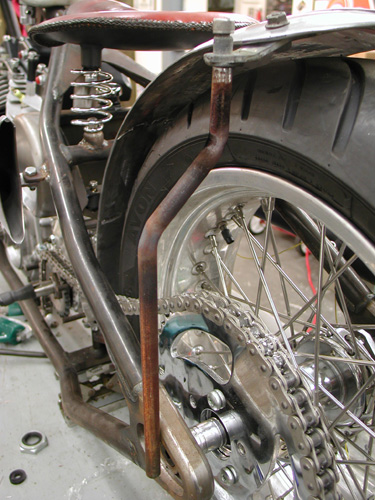
I discovered that the pipe exits the head close to the seat post and worked on a pipe connection there. There are a couple of rules in making pipes that I need to abide by. I needed to remove the pipe once in awhile, so I needed the pipe tab to be on the outside of the frame tab. Often mounting required slack, so I dug around for 1/16-inch washers to run between the tabs. That way when the fasteners are removed there’s some slack to pull the pipe free.
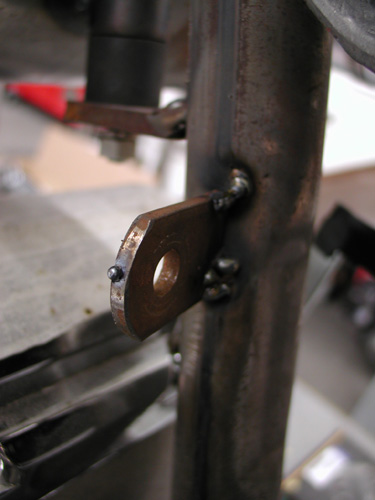
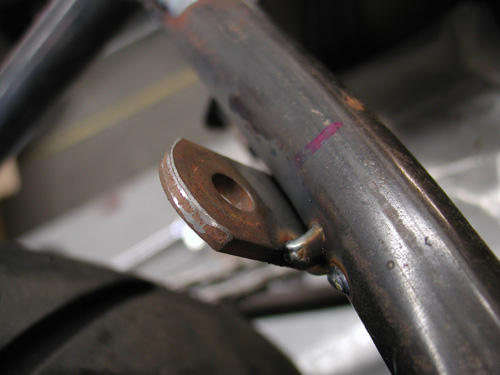
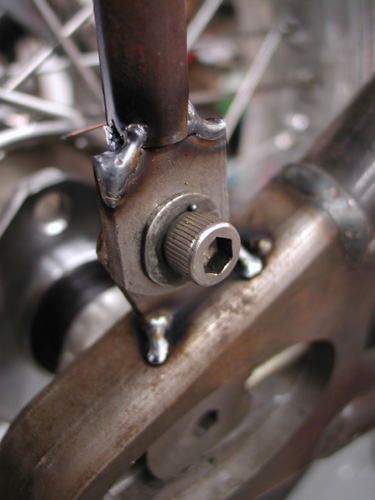
I worked with the pipe fully in place then tacked the seat post tab. Below is the tab tacked to the pipe. Then the tab welded in my shitty MIG welding fashion. I should slow down and clean the base metals more. I generally grind a bevel into the tabs for greater weld penetration. The welds are strong, just not handsome.

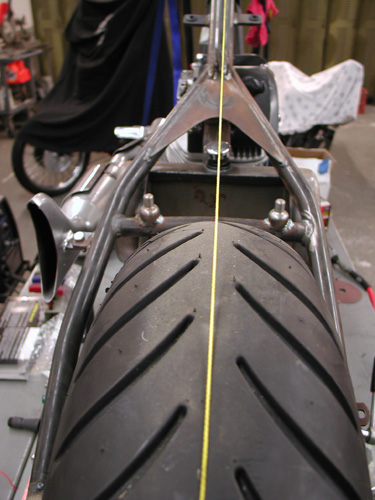
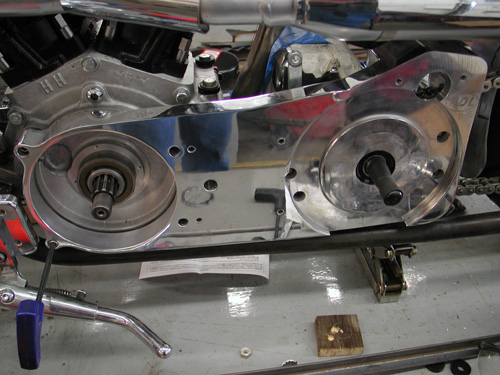
Next I needed to attach the Lucky Devil rear fender, align the rear wheel and cut the chain to fit. But first I needed to center the wheel in the frame, sorta. The custom Paughco frame is designed and manufactured to hold a belt pulley and a 180 Avon Tyre. That prevented me from measuring between the frame rails. I needed a straight line down the center of the frame backbone. It’s not incredibly accurate but close to draw a fabic or nylon line down the tube. Then with Doherty space kit and the seal spacers that came with the Custom Chrome aluminum and stainless spoke wheels, plus the Brembo brake caliper bracket, I aligned the wheel.
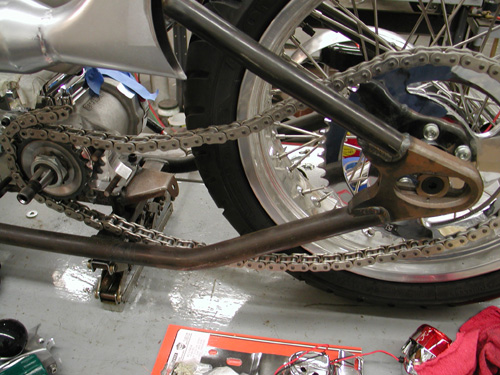
Before I cut the Rev Tech chain I installed the BDL Belt inner primary and pulled the engine and transmission into place which determined exact spacing. I know I covered this aspect somewhat a couple of chapters ago. There’s been some heavy drinking in the meantime, so if I lose track, it’s on Jack.
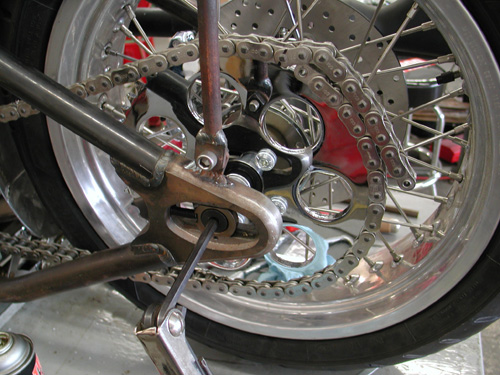
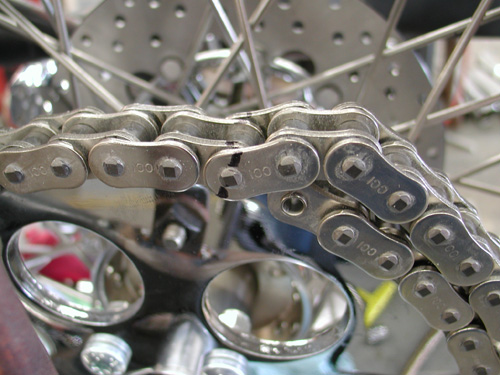

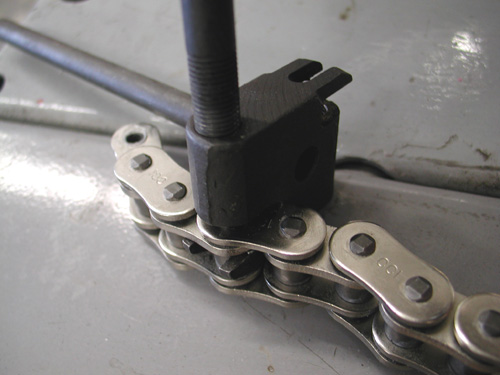
I centered the wheel in the chain adjustment slot to give me slack either way. Then I finally cut the chain with a JIMS tool.
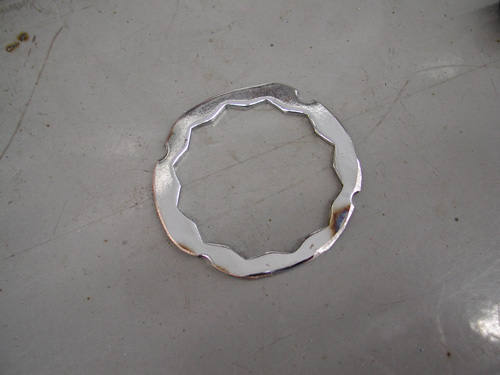
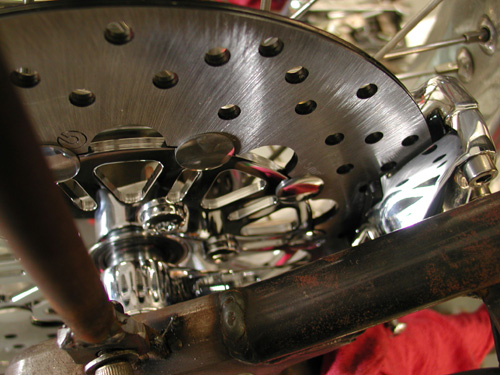
I spoke to a couple of guys about sprockets and was told that this contraption will hold a sprocket nut from coming loose better than simply Allen screws in the Custom Chrome sprocket. I may use it or not. Haven’t decided yet.

The reason this is altered is that it’s for a pulley and a different era. Add that to the fact that I flopped the dished sprocket over to space the chain away from the tire. That aspect worked perfectly.
I decided that since the tank was rubber mounted and aluminum won’t flex as well as steel that I would attempt to rubber mount aspects of rear Luck Devil fender. Kent designed and handmade the fenders to match aspects of the XR 750 tank.
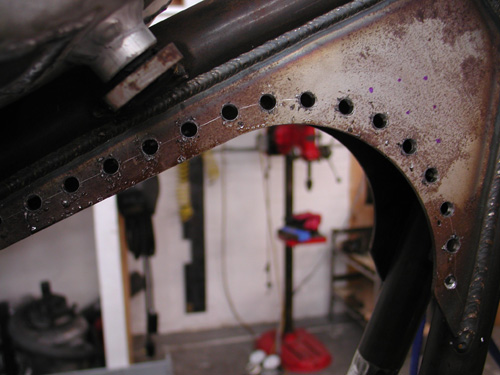
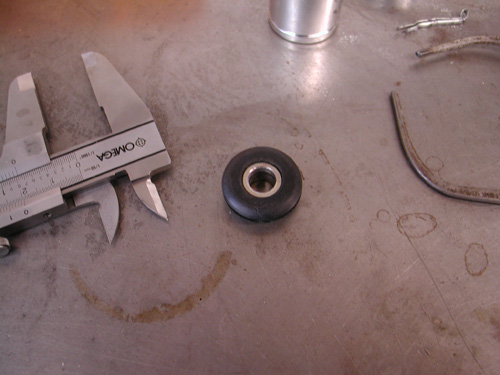
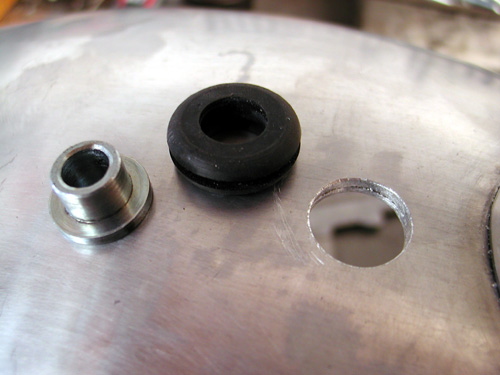
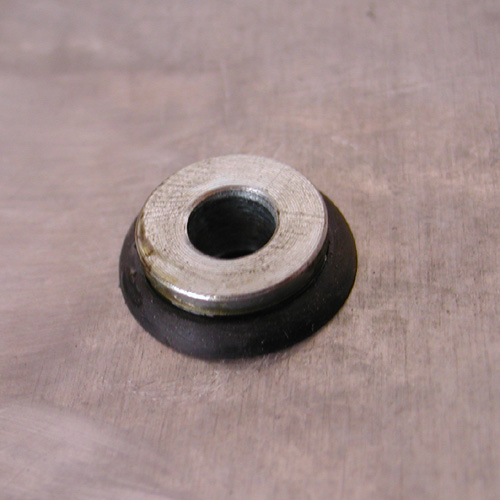
Cyril Huze sent me several grommets to work from and this pair are from some late model Sportster application. I measured the O.D. on the center portion and discovered that I needed ½-inch holes in the fender which I drilled after I had mocked up the fender in place, ground a clearance strip for the chain and stood back several times. Arlen Ness once told me that he used a chain wrapped over a tire to space a fender. I needed enough space for fasteners under the fender and some chain adjustment slack either way.
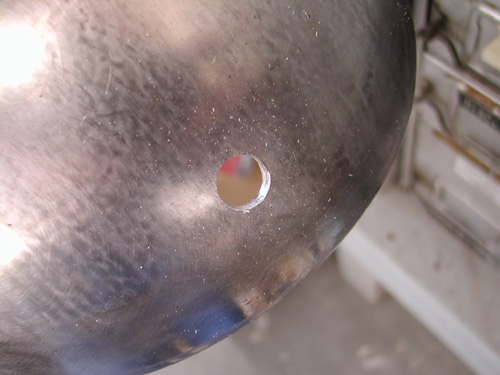
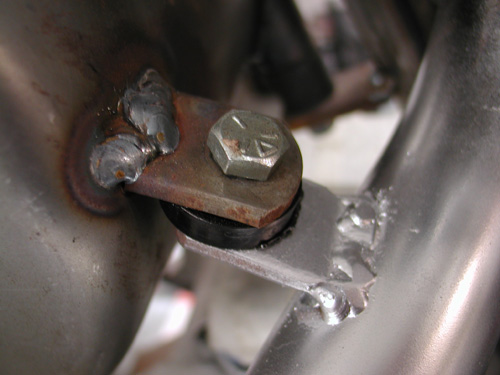
I moved the fender up and back, and side-to-side several times before making any hole-drilling marks. I was a nervous wreck. Ya don’t mess with the Devil’s fender. I finally drilled a half-inch hole, and smoothed the edges, in the bottom of the fender then at the crossover tube. I worked in the rubber with a dab of oil and bolted the bottom stainless bolt in place.
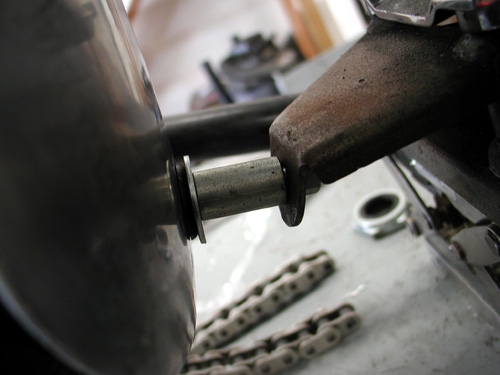
The Sportster grommets have metal inserts, which make them easier to install. With a couple of spacers in place the fastener held the center tab for tacking.

Here’s where it got tricky. I’ve been bending metal with a torch for years. Never improved my technique. Just the other day, a month after I built this fender rail system, I bought a small strap or tube-bending tool. Wish I had it when I went after this project.
First I built the fender strap out of a piece of exhaust pipe bracket. It came with two 3/8-inch coarse tapped inserts in each end. My plan was to build a fender rail system with tubing so I could adapt a couple of running lights on the tips. I carefully bent and drilled the strap and fender.
Then I bent the tubing fender rails to fit over the chain and tacked tab to the Paughco frame. One item I often attempt to use is a level. I’ll level the frame from side to side, then strive to keep all the other elements level. It helps.
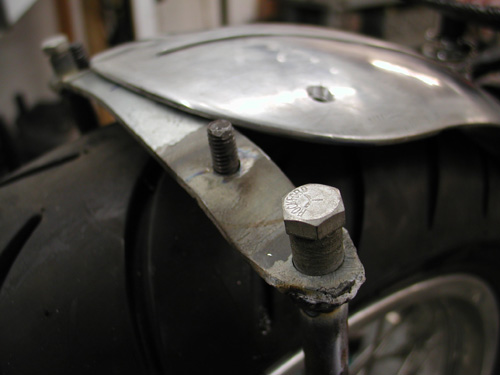
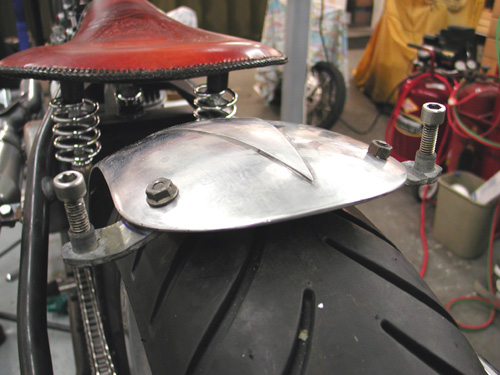
Here’s a perfect example. As I finished my welding chores, I got on a roll. I thought– wouldn’t it be cool to weld the fender bolts in place from the bottom. They would never come loose. Note the angle. There was no way they would ever return through their mounting locations. I was forced to grind them off and clean the holes.

Here’s the finished fender rail system. I drilled holes in the frame and the rails to run wires. I still haven’t found the perfect running light style that rocks my boat and will afford me enough room to use the proper fasteners. Hang on!